Saturday, December 29, 2012

Cooking for Vegans - starters guide for how to cook lunch for your vegan friends

"OMG help!  My friends coming for lunch tomorrow and she's VEGAN!"

DON'T PANIC!  It's not as hard as you think.


Don't panic.
You are bound to have something vegan friendly in your pantry if you look.


I know a lot of cooks who panic at the thought of cooking vegan.  I know I use to.  Even the though of cooking vegetarian use to make my knees turn to unset jelly (the one derived from seaweed of course ;).  I would worry for days and days, go out and buy huge packs of exotic foods that I really don't enjoy, like Tofu, or non-meat-ground-beef.  It was very expensive and, as I know now, unnecessary.  

What does it mean to eat vegan?  It means that they don't consume animal products.  In fact, vegans are very careful not to use animal products in any way.  This means everything from not eating meat to not wearing wool socks and a whole world of things in between   Some people are vegans for ethical reasons (they love animals a lot and don't want them to be hurt in any way), some for medical reasons (extreme reactions to animal proteins would be one example), and some for a mixture of both reasons.   I'm sure there are other important reasons as well, I just don't know them yet.


Now, it's kind of obvious that I am not a vegan.  I'm not even vegetarian,  although I do have a restricted diet due to health issues.  But I do have friends who are, and like most of my friends, they tend to suddenly appear at meal times.  I hate for a friend to go hungry.

As part of my goals for 2013, I am looking forward to posting some blog entries and recipe ideas for when our vegan friends come for lunch.

Here are some ideas that I've learned over the years...

  • Veganism is more than just dietary choice or even a lifestyle choice.  It takes dedication beyond what most people can imagine to live a vegan life, especially in this Carnivore-centric Western World of ours.  It requires almost religious devotion to be vegan, and even if you don't understand their choices,  you should respect how hard they work and how strongly they believe in what they do.  I really admire someone who can live their life 100% in accordance with their values.  
  • If you don't know what to do when cooking for a vegan, the first step is to ask them questions!  Vegans are some of the most understanding people in the world, they know that many of us don't know a darn thing about veganism.  Sadly, vegans also know what it is like to be picked on - and because of this, are more interested in spreading the love, not encourage hate.  I've never met a vegan who was down right hostile towards ignorance.  They love to educate people about vegan life.  They also tend to be highly educated in diet and nutrition.  Your vegan friend is guaranteed to have a couple of quick and easy recipes hidden up a sleeve somewhere that they can recommend you make.  You just have to ask.
  • Turn it into a pot luck lunch.  That way you don't have to worry about all the dishes, make some simple rice, maybe a chopped veg platter, and get them to bring a main course.
  •  When in doubt make hummus!  Hummus can be made quick and easy with a can of chickpeas (drained), a few glugs of lime/lemon juice, garlic, olive oil and a blender.  Hummus and crackers, hummus and raw veg cut up, hummus and bread...
  • Chickpeas are your friend.  There is no end of things you can do with a can of chick peas, most of them legal in Canada.  It's my go to emergency food for guests and I always keep a dozen cans or so in my pantry at any given time.  Oh, and even good quality canned chick peas are super-cheap.  Mix them with an onion, garlic, potatoes, curry paste (check the ingredients list, I think Pataks mild curry is vegan friendly), and slow cooker, serve with rice and chutney.  Your friend will never leave.
  • Get a vegan cook book.  You will be surprised how often you use it.  It's also a great thing to have if you or a loved one has allergies and need advice on ingredient substitution.   My copy of Vegan a Go-Go! gets used all the time, it even has an awesome emergency toothpaste recipe or two for vegans on the a go-go.
  • Not all vegan food is tofu.  There is a lot more to veganism than soy products.  People with soy allergies can enjoy the same meal as a vegan, it just takes a little co-ordination.
  • Keep your meat in a separate part of the fridge.  This is just common sense for anyone as it helps avoid contamination and food poisoning.  Most fridges now have a special drawer just for meat. Not everyone is worry about meat and vegan food being stored in the same area, but some people find it very important.  Better safe than having a guest vomit in disgust.   Treat it the same way you would an extreme allergy.  If you often have vegan or vegetarian friends to lunch, it would be worth dedicating a shelf in the fridge to non-animal products (that's no butter, no eggs, no milk, no meat, no cheese... &c.)
  • Get a vegan friendly hand soap for the bathroom, a nice olive oil soap is always good, it's also very good for the skin.  It's such a small thing, but it makes a big difference to making your friend feel at home.
  • Don't serve meat at the same meal.  There are some exceptions of course, like family traditions, and certain restaurant situations.  Sometimes a vegetarian or vegan will say it's fine to eat meat in front of them, but it's more likely to make you both uncomfortable.  Eat something vegetarian or vegan now and if you really, really have to, you can pig out on meat the next meal.
  • You don't need to panic and buy fancy ingredients that you have no idea how to cook, or worse, try and impress with some complicated recipe that is going to take all your energy and time away from your friend.  They came to spend time with you, not sit idle while you curse your kitchen and learn how to use a fire extinguisher.  
  • Vegetarian and vegan food does not have to taste like meat.  In fact, there are so many yummy foods you can make without meat that I don't know why anyone would want to chow down on meat flavoured soy crud (no offence meant to the people who like meat flavoured soy crud).
  • Try Indian food.  Lots of meat free recipes there, although some need to be altered to avoid butter, cheese, &c. in order to be transformed from vegetarian to vegan friendly.

I have learned a lot about cooking by making lunch for my vegetarian and vegan friends.  I've tried things I never thought I would and ended up adding them to my everyday recipe list.


So, you see, there is no need to panic.  When in doubt, google 'vegan friendly restaurants (your towns name here)'.  They will understand.


A few vegan friend recipe ideas:
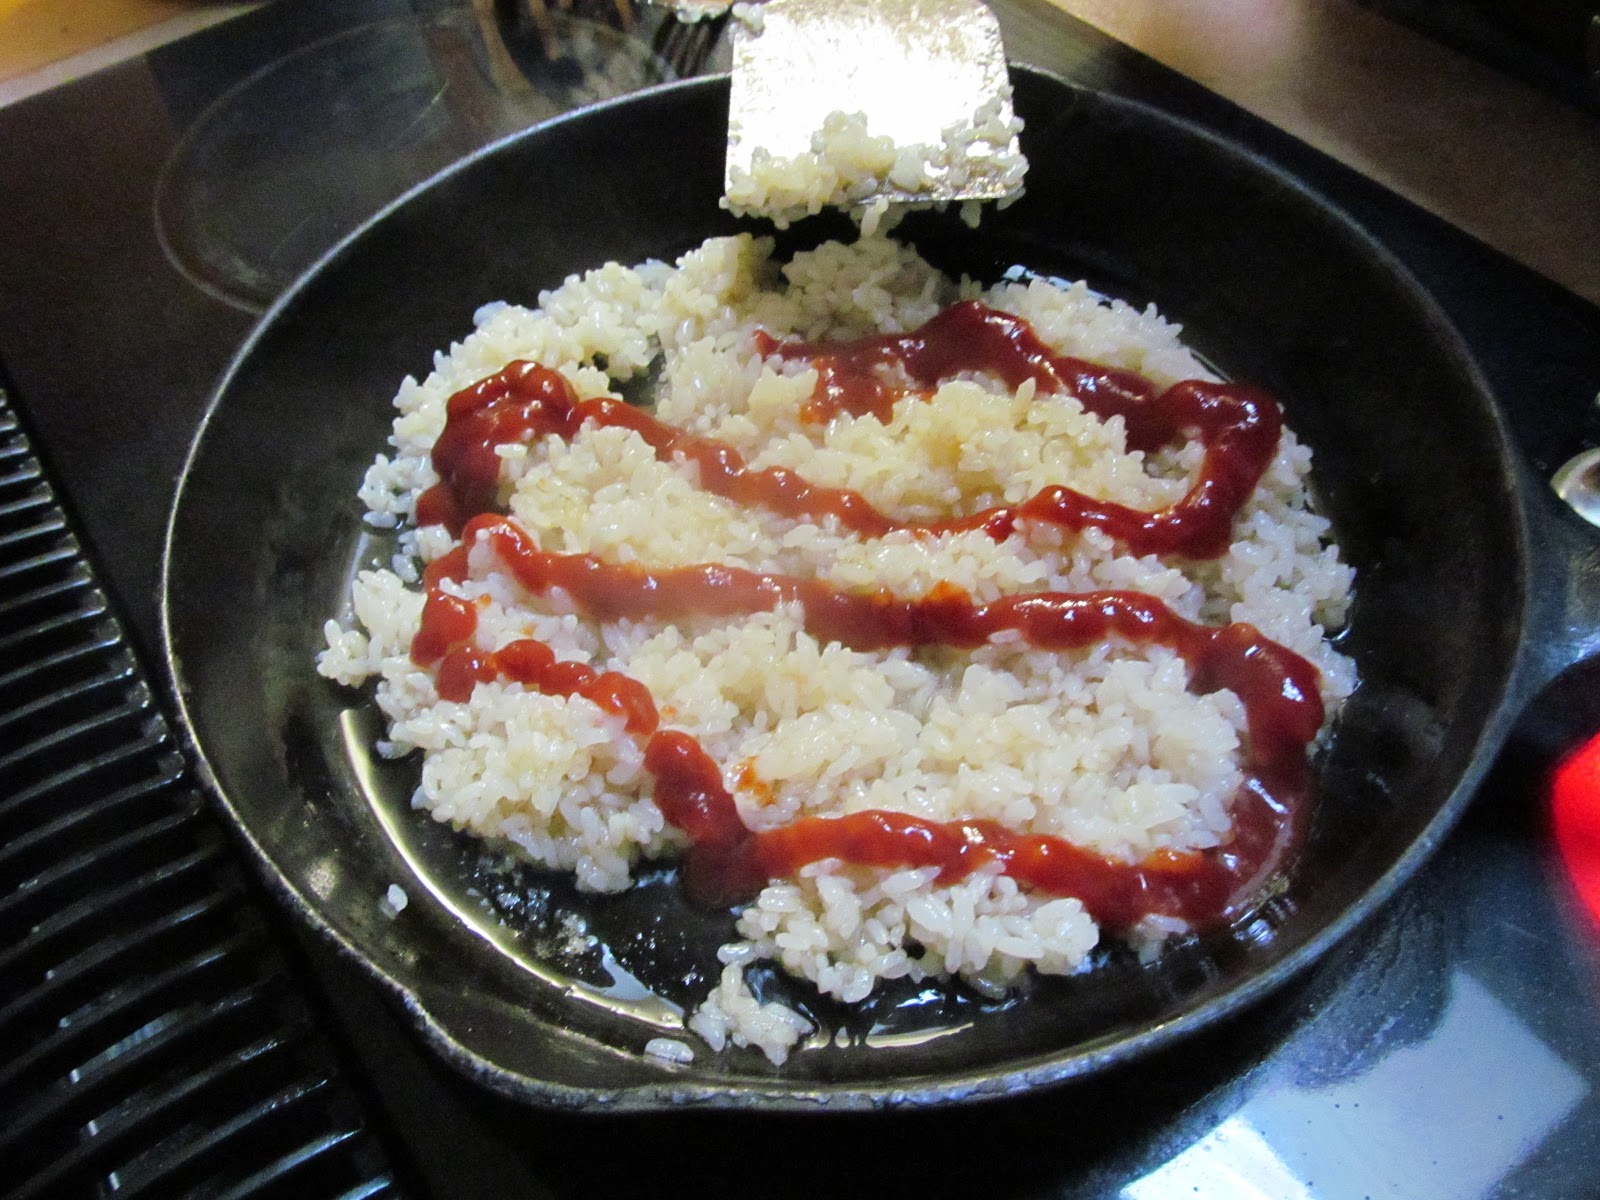
Kimchi fried rice
Namuru - nice side dish you can make with chard, spinach, or other greens, that doesn't taste like semi-digested rabbit poo.
Turmeric Rice - use dashi made from seaweed
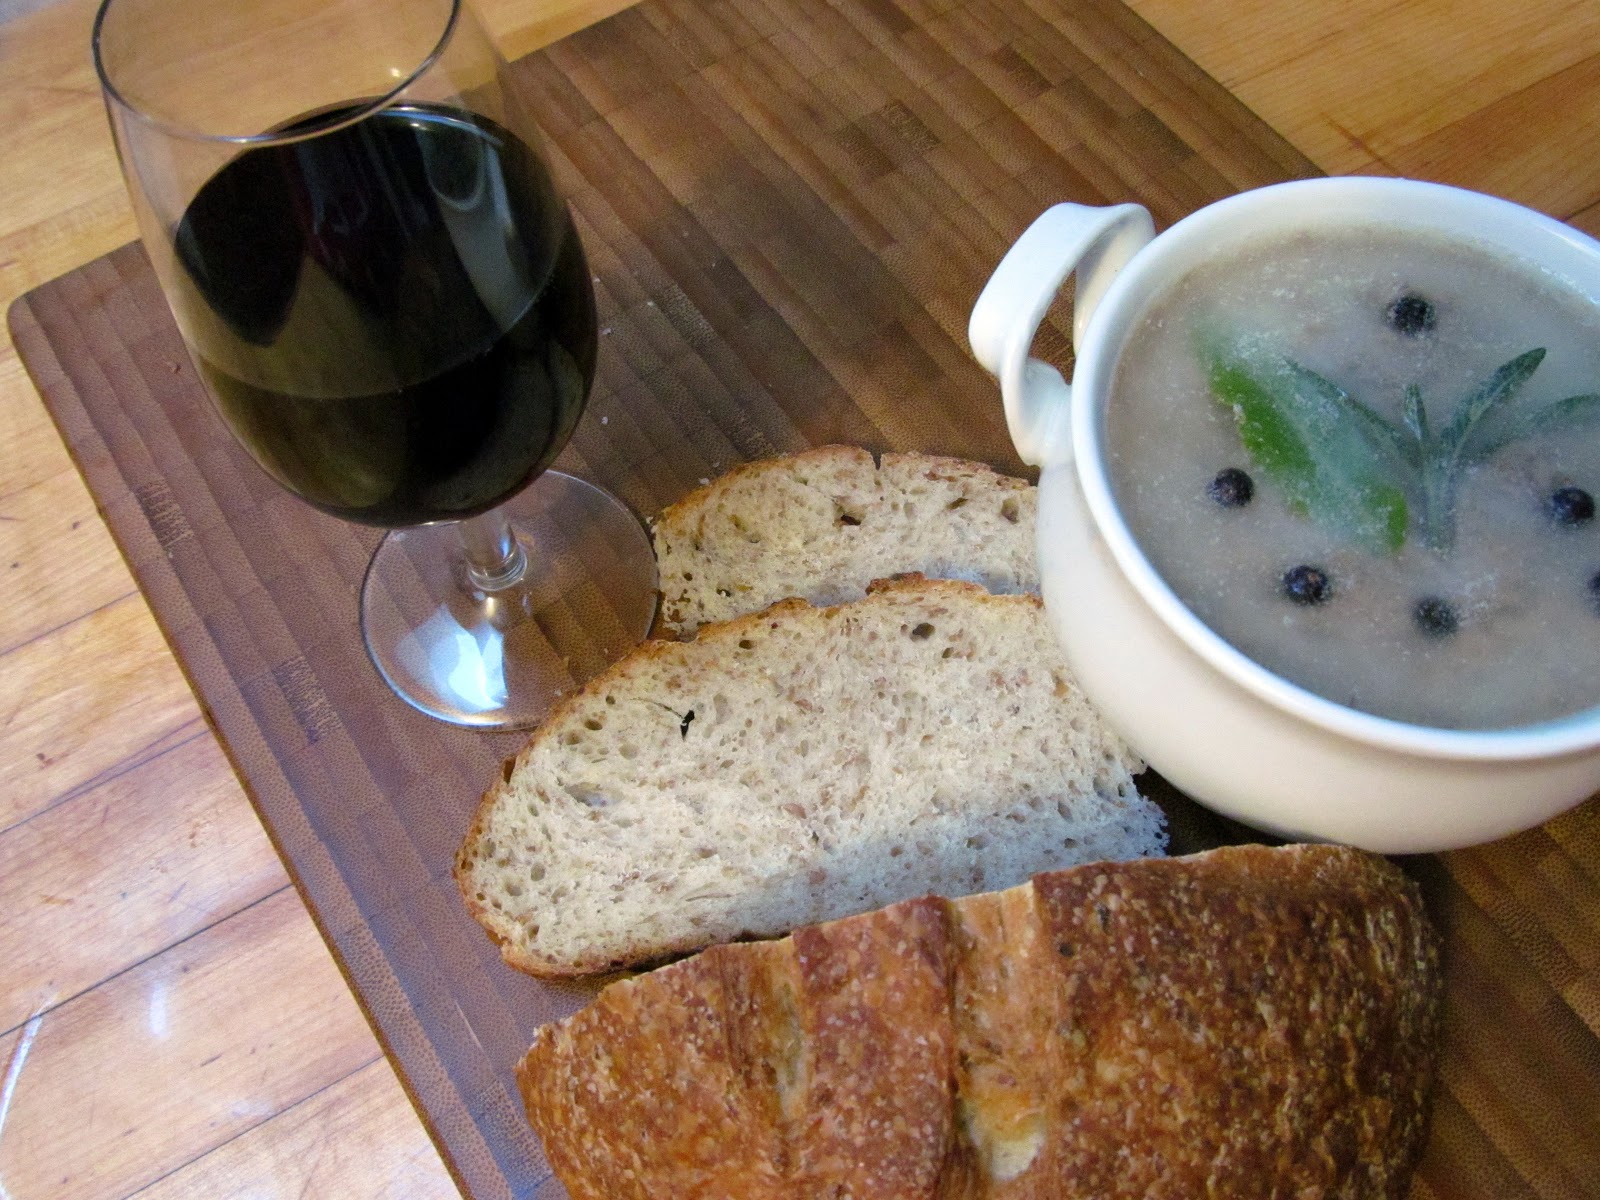
Yummy Lentils - Make sure you use vegan friendly soup stock


ps. Vegetarian and vegan diets are not really the same thing.

There are literally thousands of different vegetarian diets, anywhere from your lax vegetarian who does not eat beef most of the time, to someone who will eat no meat or anything that might grow up to be an animal (like an eggs) but is willing to eat animal bi-products like milk and cheese.  When you are cooking for your vegetarian friend, make sure you talk to them and ask them about what they eat and do not eat.  Treat it like you would an allergy, don't be an ass and try and sneak things by them.  You wouldn't put peanut butter in someone's dinner if they were deathly allergic would you now?

Vegans are more strict about avoiding all animal products.  I think of them as super-extreme-vegetarians-superhero-people!  Which I know is a very long phrase and does not do justice to how cool they are.  But it's meant with love.


pps.  In this blog I often use the phrases 'vegan friendly' or 'not vegan friendly'.  I'm not trying to be exclusive or mean or scare off vegans (or anyone else) in any way.  I use these phrases because in my head, I associate the word vegan with the word friendly.  I'm also trying to inform people who are not use to cooking for vegans weather a recipe is appropriate to serve to their vegan friends.

Monday, December 24, 2012

Recipe for homemade herbal hand cream

Homemade hand cream, what a good idea for a quick last minute Holiday gift for a very good friend of mine.


I've been making this natural and mild hand cream for years now.  It is excellent for dry, dishwashing hands and most skin conditions, especially those caused by allergies.  I call it mild because it has almost no smell, but it is hard working.  It even has some antiseptic qualities to it which can help wounds heal faster (don't apply to open wounds, just ones that have scabbed over) and prevent scarring.

I used some herbs I collected from the garden over the summer and dried on a baking tray in the shade, you can choose your own combination of herbs, or even use none at all.  Rosemary works well for dry, flaky skin.  Calendual has magic skin healing qualities, so do roses and lavender, well that just smells nice and felt right.

This recipe makes quite a bit, enough for 4 of your friends and 4 months use for yourself.  Please use it within a year of making.

Homemade Herbal Hand Cream

1 and 1/2 cup olive oil
1/2 cup bees wax (when melted)
1/2 cup coconut oil
1 tsp honey
1 tsp castor oil (optional, but helps to draw out toxins from the skin)
small handful of dry herbs (I used calendula, rose petals and lavender)

Raid the recycling bin for a few old (heat friendly) glass jars and clean them out really well.  Also, at this stage it's a good idea to get your tins and jars ready for the finished lotion.    Something wide mouthed with a lid works great.  Altoids tins don't work all that well due to the holes where the hinge goes.

Everything, jars, final tins, everything needs to be dry before you start.


In your largest jar (I used a cheeze wiz jar that the Ancient had finished with) put the olive oil and herbs.  Save a few perfect looking herbs for decorating the finished lotion.  Place the jar in a pot and fill the pot with warm water so that it is just about the same level as the oil, maybe a bit higher.  This makes a poor mans double boiler.  Place the pot on medium heat.


In the smaller jar, place some chopped up beeswax and place this jar in the water next to the oil and herb jar.

When the beeswax is melted, you can turn down the heat and start straining the herbs from the oil.  If you don't get them all out right away, don't worry, you can strain it again when you fill the pots.


Combine about 1/2 cup of coconut oil to the olive oil.  Feel free to bring up the heat again at this point.  When the coconut oil is completely melted, CAREFULLY poor about 1/2 cup of melted beeswax into the oil.  Mix it all together and test the consistency by dripping a few drops onto a tin, letting it cool, and feeling how creamy it is.


If it's too solid, add more oil, if it's too liquid, add more melted beeswax.

Make certain you have the honey and castor oil right ready.

Remove the jar from the water, and very quickly add honey and castor oil to the lotion, sir very well.  Poor through a strainer into the jars.


Leave it somewhere with the lid off where it won't be disturbed until it starts to go creamy and the top just starts to solidify.


Place the remaining herbs on top of the lotion, and press gently with your finger.


Infusing the herbs into the oil like this gives a very mild scent but also helps impart some of the healing qualities in the herbs into your hand cream.

You can add essential oils to the cream at the same time as the castor oil, but I don't recommend it.  Essential oils can be as harmful as they are helpful, and if you are making this for someone with skin troubles, it is best to keep things as gentle as possible.


Correction, this is NOT vegan friendly due to the beeswax and honey, but it is suitable for most vegetarians  and will work well for most people with Allergies.  If you are giving it away, make sure you include an ingredients list.


Sunday, December 23, 2012

Recipe for Ketchup Kimchi Fried Rice plus more homemade kimchi

Kimchi ready to go in the pot to ferment
Whipped up a fresh batch of Kimchi this week.  The green grocery had some really nice looking su choy cabbage and excellent green onions.  I followed the recipe in Wild Fermentation more or less.  This batch includes 2 Su Choy cabbages, 3 bunches of green onions, 2 buds of garlic, 4 carrots, 6 to 8 chilli peppers, a couple of Tbs of chilli powder, tsp ginger, half a daikon radish... I think that was it.  It's going to be good!

Although it is possible that I make my kimchi a bit too spicy.  But I don't mind because it goes great in fried rice.

This is the recipe for Ketchup Kimchi Fried Rice that The Capitan invented.  There are at least half a dozen ways I like to cook kimchi fried rice, but this is what I'm in the mood for these days.  It is Vegan Friendly (provided you use vegan kimchi and ketchup).  It goes great with eggs or a hunk of cheese, or if serving to your vegan friend, a side of tofu.

Ketchup Kimchi Fried Rice


Cooked rice (leftover rice is fine) about 2/3 cup per person
Kimchi
Sesame Oil
Ketchup


  • Poor some sesame oil in the fry pan and add the rice.  Fry at medium-high until the starch in the rice starts to crackle and burst but don't let it get too crunchy.

  • Add the Ketchup, as much or as little as you like.  Stir it in real well and cook until the sugar in the ketchup starts to carmalize.
  • Add the Kimchi.  Cook the kimchi until warm.  Try not to cook the kimchi too much as cooking it destroys the active enzymes that aid digestion.
  • That's it.  If you like, at this stage you can crack an egg on top of the rice.
  • Serve and enjoy.


Goes really nice with Korean Nori
This is very much comfort food for me.  It's surprisingly calming on the digestion due to all the lovely enzymes and stuff in the Kimchi.


Thursday, December 20, 2012

Recipe: Goat Liver Pate

I really hope that by the end of this sentence, you don't think I'm strange; but a friend of mind gave me some goat liver as a thank you gift.  Okay, maybe you think my friend is strange, but she's really, um... well, a lot like me.  So I guess we are both a little odd.

It was really special.  The goat spent a good chunk of his life living on our farm, being a real pain in the back. The number of times he stuck his horn up my back side, or tried to stick a different protuberance up there... I will tell you, goat kids loose their cute really, really fast when you deal with them on a daily basis. But I know he lived a good life, and I feel really privileged and glad I had the chance to give him the respect he deserves for providing us with this life sustaining substance.  


Having no idea what to do with goat liver, I decided to do some research.  There are surprisingly few recipes for goat liver on the internet, at least not many of them seem the kind of thing I would enjoy.  Nigella Lawson in Nigella Express has an amazing recipe for liver, which even the most squeamish of eaters (The Ancient being one of them) will not only eat, but scoff down and ask for seconds.

So next I turned to Nourishing Traditions by Sally Fallon and read up about organ meats.  WOW!  There is some really good stuff in liver.  Lucky for me this was a young goat kid, raised ethically and with love.  There would be very few toxins if any in the liver.  From what I've read, it's some sort of magic food.  So my friend giving me liver was more like her giving me a magic ingredient.  

About the same time I had the opportunity to visit a new kind of shop, an Artisan Salumeria called The Whole Beast.  I only had a few minutes to chat with the very knowledgeable fellow running the place, but I got some good ideas for how to make pate and some pretty awesome pork product to put in it. 

Goat liver pate!  What a great idea.  I love pate.


Pate in the bowl, Ale Barm bread, and some red wine

I couldn't find one recipe for pate (goat or otherwise) that I liked.  There are some rather, um, what's the polite way to say this?  They differ greatly from what I always imagined pate to be, which is meat and spices in a spreadable consistency.  Some of the other recipes had boiled eggs, milk, cream... The recipe I developed (which turned out fantastic) is heavily inspired by three websites.  Farmlet being the biggest source of inspiration with a bit of this Tesco recipe for Lamb Liver Pate and this recipe from a site called redbrick.

I learned a lot researching and making pate.  First off, there is a huge amount of fat in pate.  The fat helps to preserve the pate and adds wonderful flavour.  Sure, it's good for your brain fat, but not really something to eat in large quantities very often.  A few tablespoons worth at a time would be far more reasonable.  But given how healthy it is for you, it is something you want to eat frequently.  Second off, raw liver is super-gross.  Like amazingly disgusting!  If the pate didn't taste so good, I don't think I would bother.  Thank goodness I like pate.  Third off, this is quite easy to make.  I gave myself a good four hours, and was done the hard part in about 25 min.  Another half hour for it to cool, 15 minutes in the blitzer (Dear Santa, I need a new blitzer), 3 min stuffing it into the container and decorating it, and then clean up time.

Please note, I'm not giving a quantity for the fats.  I found the bacon/pork varies in fat content so much, that it's hard to say just how much fat to use.

So here it is, my first take on

Goat Liver Pate


Duck fat (optional, replace with lard or more butter if you cannot get it)
Butter (I used goat butter)
1 small onion
300g liver (I used goat this time, but mutton, lamb, kid, beef or calf would do)
200g Bacon, salt pork or this yummy salted and super-smoked pork thing I found.
2 cloves garlic
1 small sprig each, sage, thyme and rosemary
1 tsp dejon mustard
1/2 cup red wine
1 tsp Balsamic vinegar (triple that if you are using liver from an adult animal)
salt and pepper to season

Also you might like some toppings like bay leaf, pepper corns, juniper berries, small herb sprig, or whatever.


  • Optional: soak the liver in milk for an hour or two before you start cooking.
  • Finely chop the onion and fry in about two tablespoons of duck fat on low while you get the rest of the ingredients ready.
  • Coarsely chop the herbs and garlic, set aside.  
  • Chop the liver and bacon/pork into about half inch chunks.  Add the pork, liver and 1 Tbs of butter to the onions when the onions start to go transparent. 
Just look at that lovely marbling and fat, it's where the flavour is!
Goat liver soaking in goat milk

onions and meat just starting to brown


  • Turn up the heat a bit and cook until the outside of the liver is nicely browned and it is almost but not quite cooked all the way through.
  • Add the wine, herbs, mustard, some ground pepper, garlic and balsamic vin to the pan.  Cook, stirring often, until all the liquid is just about gone.  A few things to note here: don't add salt just yet as this can sometimes toughen the liver.  Also, do not neglect the balsamic vin. as it helps remove any gamy taste that might be in the liver.  If you can't get it, use vermouth or sake, in a pinch apple cider vinegar will do.  
simmering away, almost ready, smells devine

  • Turn off the heat, and leave to cool.
  • Put the mix into the blitzer (blender) and blitz the heck out of it, stopping from time to time to stir it and make sure everything gets totally creamed.  You may need to add some more butter at this stage to make it the right consistency.   This is also the time to add more salt and pepper.  I found mine tasted a bit strong so I put a few drops of balsamic vinegar in as this helps mellow the liver taste.
  • When it is creamy, pack it into your pate dish.  You can use any sort of dish that's easy to get a knife in and scoop out the pate.  I don't actually have a proper dish, so I used an Onion soup bowl and a tumbler.  
pate before the final layer

  • Pat down the pate, you might need to massage it a bit in place with a wooden spoon to get all the air bubbles out.  If there is any warmth left in the pate at this stage, leave it on the counter to cool completely.  (my blender kind of overheated and made my pate warm again, hint hint Santa)
  • Top with your decorations, I used sage leaf, bay, and juniper berries.
  • Melt some duck fat and butter (1 part duck fat to 5 parts butter) or just use straight butter.  Make sure it's enough to cover the surface of the pate, about 1/8th of an inch thick, or more.  Poor the fat/butter on top of the pate.  This helps to seal out the air and makes the pate last longer.  Also, it adds flavour as the pate seasons over time.
  • Leave to cool completely  before warping.  This leaving to cool business is actually very important as it helps prevent the pate from spoiling due to condensation/moisture.
I think this will keep in the fridge for at least a week, probably two or three, so long as the fatty top layer is not disturbed.  Once it's broken into, eat within three days.  It's better to use smaller dishes for this reason.

you can see how thick the top layer of butter/fat is
it may seem scary, but it helps the pate keep longer and
is full of flavour.
Besides, you don't have to eat it if fat scares you.


I'm really keen to make this for bento, as I bet if I make it in silicon muffin cups, freeze it, then pack it in the bento it would be exceptionally yummy.  


Vegan friendly? NO!  go google 'mushroom pate vegan' if cooking for vegetarians or vegans.
Allergy: There is some room to adjust for allergies, there seems to be thousands of variations on liver pate, so if there is a specific ingredients that you can't have, you could try a different recipe.  Although this one is using a stronger tasting liver than most, so it really helps to have the wine and balsamic vin.  

Sunday, December 16, 2012

Sort-of Sorted Brioche

I do not know what is more attractive, a man who loves cooking or a British accent. Lucky for me I don't have to choose.

The fellows at Sorted, a rather impressive cooking site, show how easy and manly it is to love creating food. They even have their own cook book, Beginners Get ... Sorted .  I can't wait to try some more of their recipes.


Since I'm in the middle of a bread obsession right now, I started with a Brioche recipe.  Although, probably not the correct definition, a brioche is a sweet, light, eggy bread that tastes FANTASTIC!


I made a few changes to mine (oh, golly, gosh, gee, you say?).

Making this brioche all started when I saw dried pineapple in the store.  I thought to myself, Mmmmm... sure apricot goes well with chocolate but pineapple would be exactly that holiday flavour I'm looking for.  

I also have not yet found a chocolate chip that tastes good and has no soy, so I got a dark chocolate bar and  chopped it into chunks.


Most of the chocolates from Denman Island Chocolates are soy free and tastes amazing, just like chocolate should.  It's my first time cooking with it like this, and I'm really happy with how it turned out.  The taste is more intense than I remember chocolate chips being, so I wouldn't put as much chocolate in it as the recipe calls for.

While I was mixing up the dough I felt that it needed some vanilla extract.  Only when I got to the cupboard, there was also almond extract - so I used half a tsp of each.

I don't have any sugar in the house right now (Almost never do, except for the hummingbirds) so I used an equal amount (by volume) of maple syrup instead. 

The other thing I didn't use is a mixer.  


Sure, I have one, but I haven't used it in over two years.  I just find cooking by hand to be so much more satisfying.  The mixer is currently in the pile of things to sell, although mixing this by hand is giving me cause to reconsider.  


Check out the Sorted site and the video for brioche when you have a chance.  


I look forward to making more goodies from their site.  Just in case they are reading this, please do some recipes with chestnuts!  


Allergy friendly: as I've shown, the filling can be changed easy enough, but people with egg and yeast allergies as well as on glutin free diets should probably avoid this one.

Vegan friendly: not easy to make this vegan due to butter and eggs playing such a vital part in the structure of the bread.  But some kinds of vegetarians might be able to enjoy this - check before you bake this for them.


Thursday, December 13, 2012

Recipe: Ale-Barm Bread (beer-mash bread)

While searching for a good medieval bread recipe, I kept coming across something called Ale-Barm.  As far as I can tell, barm is the yeasty sediment left over from making beer, cider or wine.  Oh, guess what, I just made some beer.

The wheat beer, or Bouza, I made last week didn't exactly make the best tasting drink ever.  It did however leave me with a great deal of Ale-Barm.  I used the Bouza recipe from Wild Fermentation: The Flavor, Nutrition, and Craft of Live-Culture Foods , and the bread I made from the barm was amazing.


The amazing thing (other than how good it tastes) about using the barm from this beer recipe is that it takes advantage of both spouted and fermented grains which are wicked-awesome for digestion and are suppose to have all sorts of health imbibing properties.  The latest issue (Dec2012/Jan2013) of Mother Earth News  has a great article about baking bread with these, only by using the barm I can skip several steps and just get right down to the kneading.

I have come up with two recipes one that requires making a sponge the night before (has a nicer texture and richer taste in my opinion) and one that just uses the ale-barm as is (for a denser bread with a pleasantly sour taste).  Both recipes use honey, which is NOT vegan friendly.  So if you are cooking for a vegan please substitute with sugar or even better, maple syrup.  You can make this without sweetener, but I found the bread far too sour without it.

When you strain your beer, do at least two straining   One coarse to take out the mash (keep this as the main ale-barm), and then put the fine stuff from the second straining to one side as this has way more yeast in it.  I'll call this uber-barm (because super-barm didn't sound quite so awesome).

If you cannot use all the ale-barn right away, you can keep it in the fridge for a couple of weeks, make sure you drain off any alcohol that forms on top as it will kill off the yeast.  If it has been in the fridge more than one week, please use the sponge method to help wake up the yeast.


Ale-Barm Bread (sponge method)

The quantities are given here for a mid sized loaf.  Feel free to make up to 4 mid sized loaves in one go.  But I find if I increase the recipe any more, I don't get as much bread for the ingredients.  The law of diminishing returns and all that.

Sponge
1/2 cup ale-barm (beer mash)
1/4 cup flour
1/2 cup water


  • The night before you are going to bake bread, mix the sponge ingredients together in a large bowl.  Cover with a cotton or linen towel and leave on the counter overnight.
Bread
100ml water
optional 1 tsp uber-barn (the extra fine sediment from the beer making process)
All purpose or bread flour
1 tsp sea salt
1 Tbs honey
Olive oil or melted butter


  • Combine the water, uber-barn (if you are using any) and honey with the sponge, mix vigorously to get some air in the batter.  I don't know if the yeast likes air or if just makes me feel like I'm doing something useful.
  • Add about one cup of flour to the liquid mix well.  (I do this so that the yeast does not suffer shock from the salt and go dormant - though strictly speaking it must not be necessary as I've never seen any other recipe call for this step).
  • Add the salt and another cup of flour, mix well.
  • Keep adding flour and mixing, about 1/2 cup flour at a time, until the mix holds together as something like a shaggy dough.
  • Turn dough out onto a heavily floured work surface, and leave it alone for min or two while you clean the bowl.  This has two benefits: one, this stuff is really hard to get off when it dries, and two, it gives the dough a rest and lets the gluten start activating without you having to do anything.
  • Kneed the dough until it feels smooth, adding flour as you need it so that it doesn't stick to everything. When it feels ready (I'm assuming you've made bread before, it's not really a beginners recipe anyway), give it a kiss and get the bowl ready.  
  • Poor 2 large glugs of olive oil (or melted butter) into the large bowl.  Hold the dough by the bottom and use the top of the dough to spread the oil over the bowl.  Put the dough right way up, and use your fingers to coat anywhere (dough or bowl) that didn't get coated with oil/butter.  Cover with a dry linen or cotton towel, and put somewhere away from any drafts for a few hours to rise.
  • Rising seems to be very forgiving with this bread.  It won't quite double in size, or perhaps I just got impatient before it did.  For me, it took about four hours to rise, but I don't think it would mind at all if I gave it ten.  
  • When it's ready, punch down and form into loave(s), slice the top (or you can do this just before placing in the oven) and cover with the towel and leave to rise (took me about 3 hours, but in my experience  anywhere from 2 to 5 hours would be fine, longer for a lighter bread).
  • For the medium size loaf, bake at 400 degrees F. for about 45 min.  Make certain the oven is preheated before you place the bread in it.
  • You know the bread is done if it sounds hollow when you knock the bottom.
  • Cool on a wire rack as this bread seems to sweat more than regular bread.  Please, if you have any love for me at all, you will not put in plastic until completely cool.  If you need to pack them before they have a chance to cool completely, please either wrap in cotton/linen cloth or if worse comes to worse, a paper bag.

Ale-Barm Bread (straight mash method)


The quantities are given here for a mid sized loaf.  Feel free to make up to 4 mid sized loaves in one go.  But I find if I increase the recipe any more, I don't get as much bread for the ingredients.  The law of diminishing returns and all that.


1 cup Ale-barm (beer mash)
100ml water
optional 1 tsp uber-barn (the extra fine sediment from the beer making process)
All purpose or bread flour
1 tsp sea salt
1 Tbs honey
Olive oil or melted butter


  • Warm up the barm for a couple of hours on the counter, to about room temp.
  • Combine the ale-barm, water, uber-barn (if you are using any) and honey with the sponge, mix vigorously to get some air in the batter.  I don't know if the yeast likes air or if just makes me feel like I'm doing something useful.
  • Add about one cup of flour to the liquid mix well.  (I do this so that the yeast does not suffer shock from the salt and go dormant - though strictly speaking it must not be necessary as I've never seen any other recipe call for this step).
  • Add the salt and another cup of flour, mix well.
  • Keep adding flour and mixing, about 1/2 cup flour at a time, until the mix holds together as something like a shaggy dough.
  • Turn dough out onto a heavily floured work surface, and leave it alone for min or two while you clean the bowl.  This has two benefits: one, this stuff is really hard to get off when it dries, and two, it gives the dough a rest and lets the gluten start activating without you having to do anything.
  • Kneed the dough until it feels smooth, adding flour as you need it so that it doesn't stick to everything. When it feels ready (I'm assuming you've made bread before, it's not really a beginners recipe anyway), give it a kiss and get the bowl ready.  
  • Poor 2 large glugs of olive oil (or melted butter) into the large bowl.  Hold the dough by the bottom and use the top of the dough to spread the oil over the bowl.  Put the dough right way up, and use your fingers to coat anywhere (dough or bowl) that didn't get coated with oil/butter.  Cover with a dry linen or cotton towel, and put somewhere away from any drafts for a few hours to rise.
  • Rising seems to be very forgiving with this bread.  It won't quite double in size, or perhaps I just got impatient before it did.  For me, it took about four hours to rise, but I don't think it would mind at all if I gave it ten.  
  • When it's ready, punch down and form into loave(s), slice the top (or you can do this just before placing in the oven) and cover with the towel and leave to rise (took me about 3 hours, but in my experience  anywhere from 2 to 5 hours would be fine, longer for a lighter bread).
  • For the medium size loaf, bake at 400 degrees F. for about 45 min.  Make certain the oven is preheated before you place the bread in it.
  • You know the bread is done if it sounds hollow when you knock the bottom.
  • Cool on a wire rack as this bread seems to sweat more than regular bread.  Please, if you have any love for me at all, you will not put in plastic until completely cool.  If you need to pack them before they have a chance to cool completely, please either wrap in cotton/linen cloth or if worse comes to worse, a paper bag.


You know, I wonder why more bakeries don't team up with some of the micro breweries in town.  This bread is unlike anything else I've ever had, I've just baked 10 more loaves and had to fight The Capitan for one to take to pot luck.

Allergy wise, you need to be aware of gluten, honey and yeast allergies.  Apparently (and I've seen no scientific evidence to support this - yet - however my gut agrees) both the sprouting and pre-fermenting of the grain make the fibre easier to digest, so people on a low fibre diet might be able to eat this.  Which is total bonus because low fibre diets usually lack in whole grain goodness.

A note about the word Barm:  I've noticed that there are several uses of the word Barm in the Middle Ages.  It can mean anything from the froth at the top, to the left over mash, to the leas at the bottom.  In this article, I'm using what appears to be the more common meaning from Medieval source documents which is roughly 'the remaining yeast from fermenting drink'.


Wednesday, December 12, 2012

Bento in a wooden box

shio koji chicken & carrot gobo kimpira on a bed of rice
with  homemade sauerkraut and goats cheese

the box is too big for my bento elastic, so I wrapped it up traditional style

Made this lunch for dinner actually.  Very delicious and something I hope to make many times again.

I lined the bottom of the wooden box with parchment paper and then made a bowl out of the rice for the veg and chicken to sit in.  The sauerkraut needs to be rinsed briefly and then dried with a paper towel before packing.

Yummy Bento lunch shared on:

Bento Lunch

Tuesday, December 11, 2012

My adventures with Bouza, or brewing homemade wheat beer

In the book Wild Fermentation: The Flavor, Nutrition, and Craft of Live-Culture Foods, there is a recipe for Bouza, or Ancient Egyptian Beer.  It looked like good fun so I decided to have a try brewing it.

The 'beer' itself ended up terrible.  I finished with a dozen bottles of strange vinegar; however, the bread I made with the mash is AMAZING!  I'll post about the bread next chance I get.  It's well worth making the 'beer' just to have mash for bread later.

Please note, apparently it's not legal to make your own beer in some parts of world, including a good chunk of North America.  It's your responsibility to be aware of local restrictions before you try this at home, or at least before you start bragging about it.  Most of Canada is fine though.  We may not have the god-given right to bear arms, but we do have the god-given right to make our own home-brew.  

Out of the entire book, this is the one recipe that I've had the most trouble with.  Anyone around know more about the process of brewing this beverage, please get in touch.


According to Sandor Katz, people in Egypt have been brewing this form of beer for at least 5 thousand years.  Given that beer was one of the main sources of nutrition for the masses over the years, that basically means the pyramids were built on this stuff.  Wow.


I'm going to describe to you what I did, and some of the problem solving I attempted.  I'm not going to give you the actual recipe because that would not be fair to the books' author.  However, the book is available at most libraries and its well worth buying your own copy.

The recipe has three main steps: Malting, Forming Loaves, and Brewing Bouza.

Malting is way easier than I ever suspected.  It involves sprouting then toasting the grain.

wheat in jars waiting to sprout

sprouted wheat ready for toasting

The recipe says to toast on the ovens lowest setting for 20 to 30 min until the grain is dry.  This is no where near long enough,  2 to 3 hours will do the trick.

When the grain is dry, it can be stored in an airtight container for later use.  The smell of the sprouted and roasted (aka, malted) grain when it is ground, is heavenly.  I've taken to sprouting half a cup of wheat whenever I have a chance, and maybe I can coarsely grind it and add it to rice or bread later on.


The next step is to make a loaf with coarsely ground wheat.  Combine some sourdough starter (I used sponge as it's generally moister) and coarsely ground grain. You then leave this loaf to ferment for a few days before half-baking it so that the outside is cooked and the inside is still gooey.

ground wheat and soudough sponge

the loaf ready to be put somewhere to ferment before baking


This is the step I had the most trouble with.  To start with, I wasn't able to get the loaf to stick together, so I ended up kneaded in about two tablespoons of all purpose flour.  I put it on a piece of parchemt paper and covered with a cotton towel to ferment.

 After two days, I went to put the loaf in the oven, I noticed there was the start of mould on the bottom.


I probably should have done something about this, but I hoped that either the heat from baking or the alcohol from brewing would take care of this.  This might be why I ended up with vinegar.

When it comes to baking the loaf the recipe tells us that the finished result is to have the outside baked and the inside gooy and alive.  That way it will keep until you are able to brew the Bouza.  Problem is, the temperature given is far too low to heat up the outside of the bread.  At 350, to bake the outside of the bread enough, you will have to bake the inside of the bread too.  Instead, I think it's better to bake at 400 to 425F for about 10 to 15 min.  The outside is cooked, but the inside is all gooey and still quite cool.


Brewing day finally arrived and I ground up the malted wheat, broke up the loaf and added them both into the water.

Malted wheat as it came out of the mill

In the vat you go malt

yeast loaf with gooey interior broken up ready for brewing

Into the Bouza with you too

I sealed up the top of the bucket and waited a couple of days.  After the recommended time, it had only just started to ferment (I keep my house cool so it's understandable), so I left it a couple of more days (and made the mistake of stirring it again, which added air to the mix and might be another cause of my vinegar).  When the bubbles started to slow down, I strained it into a pot (kept the mash for bread) and left it to settle.  I strained it again through a cloth and kept the second straining.  This second straining is traditionally considered a major source of yeast and use to be a necessity in bread baking.

An early sample, after two days brewing

Tastes like yeast and water at this stage


The drink itself turned out pretty dismal.  Most of the recipes I've tried from Wild Fermentation I had no problem with; however, this Bouza was nothing but trouble.  But I'm going to try it again later and I have a few ideas that might make it more to my liking.  And even if it doesn't work, I'll have more mash for baking bread.


Bread, yummy!


Beer mash, water, flour and salt - that's it. Apparently it's the best bread ever, but I haven't had any yet because it got eaten so quickly.