Showing posts with label Beer. Show all posts

Monday, September 23, 2013

Ginger Burdock Beer recipe - Brew your Gobob Ginger beer at home.

Warning:  This Ginger Burdock Beer does get very fizzy!  I just spent the night cleaning up exploding bottles (which were exploding while I was cleaning up the mess from the earlier explosions).  On top of following normal safety procedure, if you are not going to drink these up quickly, add less sugar and keep them in a closed box to limit the amount of shrapnel.


Here's a delicious experiment I did the other day, Ginger-Burdock beer.  It's a fizzy drink, brewed with wild yeast captured from the air.  It's a lot like ginger beer, but with a deep earthy undertone to it.  At first it tastes strange, sweet, but not sweet like sugar is, but also tangy.  It grows on you, and after the first sip, I found myself wanting more and more.

Burdock, also known as Gobo, is a vigorous weed in these parts.  It has these nasty seeds, that hitchhike by attaching themselves to clothing or hair or wool of any animal (people included) who happen to come just a little too close to it.  Though most people here consider it a nuisance, it has a long history of use in Europe and Asia.


Just like making a ginger beer, you need a bug to capture the yeast from the air.  You can use a simple ginger bug, or what I find works better is a burdock bug.

Burdock Bug


Burdock root
water
sugar


  • Fill a jar half full with water (if you are on city water, use water that has been boiled and cooled to room temperature).
  • Add 4 Tbs grated or finely chopped burdock root (washed but keep the skin on)
  • And 2 tsp of sugar.
  • Stir vigorously and cover with a cheesecloth.
  • Twice a day, add 2 tsp of sugar and give it a vigorous stir.  It's ready when it starts to have bubbles, or sometimes froth on top.  
  • If it's not active in 4 days, add another 2 tbs of burdock root.

Ginger Burdock Beer

Per 2 gallon of water you need...
1 burdock root
hand sized piece of ginger
2 cups sugar
water
Bug liquid

  • Chop the burdock and ginger and put in a large pot with the water.  If you are making a huge batch, then only use half the water for this and add the rest after you've made the tea.
  • Boil the ginger and burdock for 30 min.  Cool to room temperature.
  • Strain out the ginger, and add the sugar to the water.  Add the liquid from the bug.  Stir vigorously.
  • Cover with a towel and leave at room temperature for 1 to 3 days.  It should start to make small bubbles and then subside, but I don't always notice this happening, so I usually bottle when I get around to it instead of relying on the fermentation.  The longer you leave it at this stage, the more alcoholic it will be.  A normal ginger-burdock beer should be less than 1% alcohol.  Think more soda than beer.
  • Bottle in bottles that can handle pressure.  Burdock has a lot more sugar in it than you may think, and I find it carbonates quickly and with great enthusiasm.  Mine was ready for drinking 3 hours after I bottled it (opposed to the 3 or 4 days the ginger beer takes).
  • Be careful when you open it.  Best drunk outside.

When I strained the ginger burdock tea, I was impressed with the fluorescent green colour of the liquid.


Although it quickly oxidized into a more natural looking brown - green.


The finished drink clarified quite a bit.  I think that next time I make this, I may try cutting the sugar in half and see how that tastes.

Affordable cooking: yes, I think so.  I harvest the burdock from the garden, and ginger is affordable these days.

Vegan friendly: Yes.

Healthy: I think so.  Both burdock and ginger have healing properties in most traditional medicines.  Compared to commercially carbonated drinks, there is very little sugar in this.  Also, it's excellent for replenishing electrolytes on a hot day.

Friday, September 6, 2013

Kitchen Failure - homebrew beer from a tin and a digression into a Pastafarian world view

Perhaps it is true what they say, alcohol leads to spiritual contemplation.  A failed attempt to brew beer at home, has lead to some...sigh, well...the blog title suggests there will be occasional jaunts into the more religious aspects of the kitchen... feel free to skip this one if you aren't in the mood for...um...this...

Here is where I dress myself in full pirate regalia, eyepatch included, for it was said that one shall not discuss the details of the religion of the Flying Spaghetti Monster unless one is dressed in the Holy Garb.

Pastafarian literature tells us that there is a heaven, and in heaven there is a beer volcano.  An unlimited supply of beer is all well and good, but an actual volcano?  Call me...um... call me someone who doesn't follow the dogma of a religion to it's extreme, but I don't imagine how a volcano that spews unlimited amounts of liquid brew into the eternal resting place of my soul, would be a good thing.  I know, I know, heaven isn't suppose to be logical, but wouldn't an unending flow of beer eventually fill up heaven?  I mean, how can we drink enough to prevent the constant deluge from becoming a flood, when we are dead?

The Whole Wheat approach to the subject of beer is a bit different.  We love the idea of drinking beer on Fridays, the holy day of those who follow the teachings of the Flying Spaghetti Monster.  Beer goes great with pasta and many other things.  But maybe, the volcano of beer is a metaphor for how to live our lives better in this world. 


The Whole Wheat Pastafarian looks at beer much the way we look at food, only with more importance.

  The Flying Spaghetti Monster created the world in which we live in, and being a deity that resembles food (or that we have a food that resembles the divine), the Whole Wheat Pastafarian believes that this is a sign from his divine noodliness that it is our duty in life to create the best foodstuff that we possibly can.  Be this cooking at home, or growing the best ingredients, whatever our path in life, the Whole Wheat Pastafarian holds sacred the creation of food, not just for today, but we also believe that it is our duty to keep the world as healthy as possible so that future generations can also enjoy the same, or better, dietary connection to the divine that we feel every day.  Some may say that it's not much different than the bread and wine that Christian followers believe.  In fact I've seen some of the more evangelical members of the Church of the Flying Spaghetti Monster may go much further than that, but they are, um, more extreme in their religious view.  The Whole Wheat Pastafarian would never go that far, as moderation is the key to keeping a healthy diet, healthy soil and healthy relationships with others.

To create healthy food, we need to create a healthy food source.  Good tasting food that nourishes the body and spirit, comes from healthy farming practices.  It is more complicated than I'm going to go into here, but basically it comes down to healthy soil.  Healthy soil means that we grow delicious food for ourselves and can continue to produce food to feed the world for generations to come.  The second most holy task the Whole Wheat Pastafarian can set themselves in this world is to grow food (especially grains that make yummy pasta) in a way that improves the soil over time so that whomever comes next, can have a better starting place than their predecessor.  This stands in stark contrast to those who have lost their ways, and the vast wastelands that now exist where before, was fertile soil only a generation ago.  

The Whole Wheat Pastafarian follows a different path, so that through successive generations, the ground grows stronger, produces better crops of grains and soil to grow more and more... and so on and so forth...putting an end to humanity caused desertification (instead focusing on dessertification - as in two s's - pass another slice of chocolate cake please)

But that's simply the second most holy of tasks a Pastafarian can seek in their life... 

Whole Wheat Pastafarians are very quiet on the internet, most of them are too busy growing food or cooking it to spend time chatting in the virtual world.  However, I suspect that those who feel the touch of His Noodly Appendage most strongly in this world, pursue the art of brewing beer.  Perhaps, and I speculate here, this is where the symbol of the Beer Volcano comes in -  a powerful brimming over of potential and spiritual intoxication.  I know I feel a compulsion to brew my own beer... but not only that, to grow my own barley, to malt it at home, to select the hops or other herbs to bitter the brew, to capture the miracle of wild yeast that lives invisibility in the air around us, to... to recapture that once true spiritual calling that accompanied brewing.  Be it the monasteries of the middle ages, the Bacchanalian cults of the ancient Greeks, be it the touch of His Noodly Appendage into my soul... I want to make beer, from scratch soil.

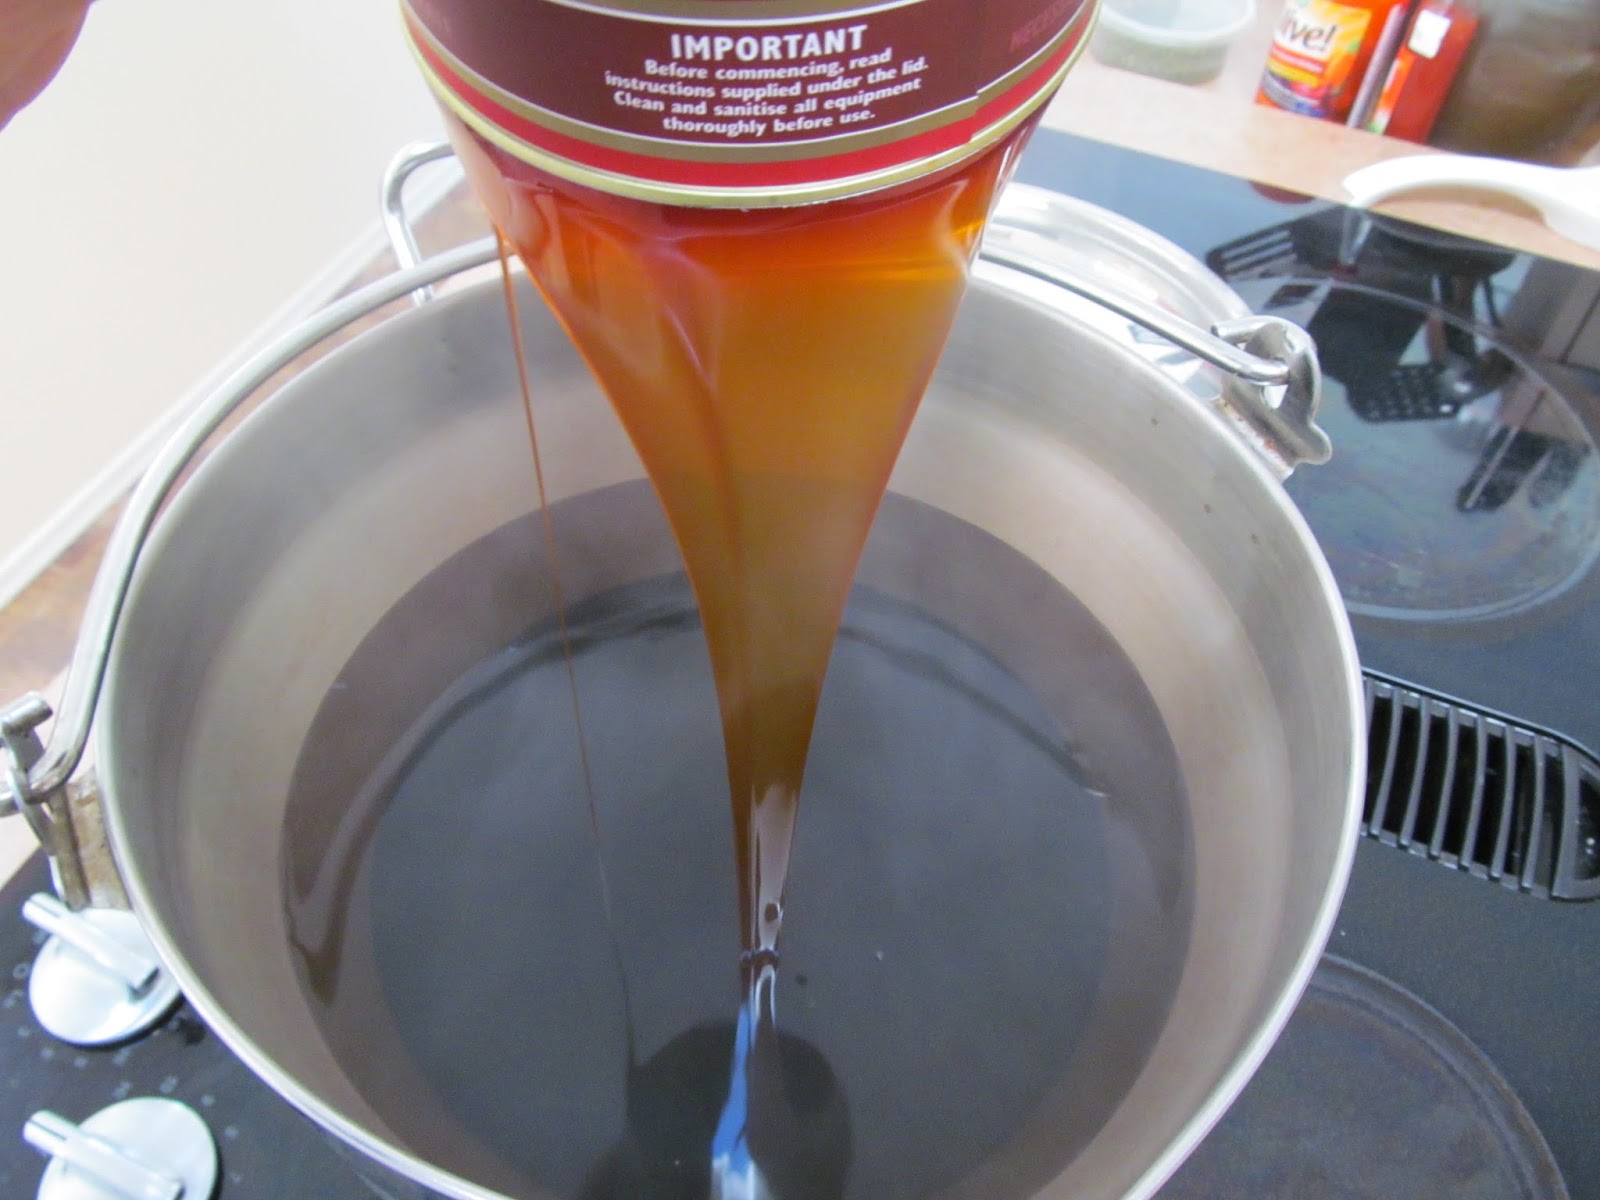
So I bought a tin.


That's probably where I went wrong.  Short cuts.  But I'm not yet ready to invest in a from-soil method of brewing.  The timing just isn't right.


I followed the instructions on the back of the tin.


I got something that smells like beer but tastes like old socks.  It's good enough to cook with, but not much else.

Maybe homebrew beer from a tin is not for me.  Maybe I should just stick to cooking and brewing apple cider... or maybe an opportunity will present itself in the future, encouraging me to try again.  Maybe I'll call it divine intervention, or perhaps I'll call it a happy circumstance.  


On a different note, I was asked recently is the Flying Spaghetti Monster made from whole wheat pasta or white pasta?  Although we cannot know the true nature of the divine, our minds being limited by our experiences in this world and lacking the necessary enlightenment to understand the composition of the divine, I can only say this: You cannot make white flour without starting from the whole grain.  So even white flour contains a kernel of the true nature of god.  (apologies for the excessive corniness.)

Thursday, December 13, 2012

Recipe: Ale-Barm Bread (beer-mash bread)

While searching for a good medieval bread recipe, I kept coming across something called Ale-Barm.  As far as I can tell, barm is the yeasty sediment left over from making beer, cider or wine.  Oh, guess what, I just made some beer.

The wheat beer, or Bouza, I made last week didn't exactly make the best tasting drink ever.  It did however leave me with a great deal of Ale-Barm.  I used the Bouza recipe from Wild Fermentation: The Flavor, Nutrition, and Craft of Live-Culture Foods , and the bread I made from the barm was amazing.


The amazing thing (other than how good it tastes) about using the barm from this beer recipe is that it takes advantage of both spouted and fermented grains which are wicked-awesome for digestion and are suppose to have all sorts of health imbibing properties.  The latest issue (Dec2012/Jan2013) of Mother Earth News  has a great article about baking bread with these, only by using the barm I can skip several steps and just get right down to the kneading.

I have come up with two recipes one that requires making a sponge the night before (has a nicer texture and richer taste in my opinion) and one that just uses the ale-barm as is (for a denser bread with a pleasantly sour taste).  Both recipes use honey, which is NOT vegan friendly.  So if you are cooking for a vegan please substitute with sugar or even better, maple syrup.  You can make this without sweetener, but I found the bread far too sour without it.

When you strain your beer, do at least two straining   One coarse to take out the mash (keep this as the main ale-barm), and then put the fine stuff from the second straining to one side as this has way more yeast in it.  I'll call this uber-barm (because super-barm didn't sound quite so awesome).

If you cannot use all the ale-barn right away, you can keep it in the fridge for a couple of weeks, make sure you drain off any alcohol that forms on top as it will kill off the yeast.  If it has been in the fridge more than one week, please use the sponge method to help wake up the yeast.


Ale-Barm Bread (sponge method)

The quantities are given here for a mid sized loaf.  Feel free to make up to 4 mid sized loaves in one go.  But I find if I increase the recipe any more, I don't get as much bread for the ingredients.  The law of diminishing returns and all that.

Sponge
1/2 cup ale-barm (beer mash)
1/4 cup flour
1/2 cup water


  • The night before you are going to bake bread, mix the sponge ingredients together in a large bowl.  Cover with a cotton or linen towel and leave on the counter overnight.
Bread
100ml water
optional 1 tsp uber-barn (the extra fine sediment from the beer making process)
All purpose or bread flour
1 tsp sea salt
1 Tbs honey
Olive oil or melted butter


  • Combine the water, uber-barn (if you are using any) and honey with the sponge, mix vigorously to get some air in the batter.  I don't know if the yeast likes air or if just makes me feel like I'm doing something useful.
  • Add about one cup of flour to the liquid mix well.  (I do this so that the yeast does not suffer shock from the salt and go dormant - though strictly speaking it must not be necessary as I've never seen any other recipe call for this step).
  • Add the salt and another cup of flour, mix well.
  • Keep adding flour and mixing, about 1/2 cup flour at a time, until the mix holds together as something like a shaggy dough.
  • Turn dough out onto a heavily floured work surface, and leave it alone for min or two while you clean the bowl.  This has two benefits: one, this stuff is really hard to get off when it dries, and two, it gives the dough a rest and lets the gluten start activating without you having to do anything.
  • Kneed the dough until it feels smooth, adding flour as you need it so that it doesn't stick to everything. When it feels ready (I'm assuming you've made bread before, it's not really a beginners recipe anyway), give it a kiss and get the bowl ready.  
  • Poor 2 large glugs of olive oil (or melted butter) into the large bowl.  Hold the dough by the bottom and use the top of the dough to spread the oil over the bowl.  Put the dough right way up, and use your fingers to coat anywhere (dough or bowl) that didn't get coated with oil/butter.  Cover with a dry linen or cotton towel, and put somewhere away from any drafts for a few hours to rise.
  • Rising seems to be very forgiving with this bread.  It won't quite double in size, or perhaps I just got impatient before it did.  For me, it took about four hours to rise, but I don't think it would mind at all if I gave it ten.  
  • When it's ready, punch down and form into loave(s), slice the top (or you can do this just before placing in the oven) and cover with the towel and leave to rise (took me about 3 hours, but in my experience  anywhere from 2 to 5 hours would be fine, longer for a lighter bread).
  • For the medium size loaf, bake at 400 degrees F. for about 45 min.  Make certain the oven is preheated before you place the bread in it.
  • You know the bread is done if it sounds hollow when you knock the bottom.
  • Cool on a wire rack as this bread seems to sweat more than regular bread.  Please, if you have any love for me at all, you will not put in plastic until completely cool.  If you need to pack them before they have a chance to cool completely, please either wrap in cotton/linen cloth or if worse comes to worse, a paper bag.

Ale-Barm Bread (straight mash method)


The quantities are given here for a mid sized loaf.  Feel free to make up to 4 mid sized loaves in one go.  But I find if I increase the recipe any more, I don't get as much bread for the ingredients.  The law of diminishing returns and all that.


1 cup Ale-barm (beer mash)
100ml water
optional 1 tsp uber-barn (the extra fine sediment from the beer making process)
All purpose or bread flour
1 tsp sea salt
1 Tbs honey
Olive oil or melted butter


  • Warm up the barm for a couple of hours on the counter, to about room temp.
  • Combine the ale-barm, water, uber-barn (if you are using any) and honey with the sponge, mix vigorously to get some air in the batter.  I don't know if the yeast likes air or if just makes me feel like I'm doing something useful.
  • Add about one cup of flour to the liquid mix well.  (I do this so that the yeast does not suffer shock from the salt and go dormant - though strictly speaking it must not be necessary as I've never seen any other recipe call for this step).
  • Add the salt and another cup of flour, mix well.
  • Keep adding flour and mixing, about 1/2 cup flour at a time, until the mix holds together as something like a shaggy dough.
  • Turn dough out onto a heavily floured work surface, and leave it alone for min or two while you clean the bowl.  This has two benefits: one, this stuff is really hard to get off when it dries, and two, it gives the dough a rest and lets the gluten start activating without you having to do anything.
  • Kneed the dough until it feels smooth, adding flour as you need it so that it doesn't stick to everything. When it feels ready (I'm assuming you've made bread before, it's not really a beginners recipe anyway), give it a kiss and get the bowl ready.  
  • Poor 2 large glugs of olive oil (or melted butter) into the large bowl.  Hold the dough by the bottom and use the top of the dough to spread the oil over the bowl.  Put the dough right way up, and use your fingers to coat anywhere (dough or bowl) that didn't get coated with oil/butter.  Cover with a dry linen or cotton towel, and put somewhere away from any drafts for a few hours to rise.
  • Rising seems to be very forgiving with this bread.  It won't quite double in size, or perhaps I just got impatient before it did.  For me, it took about four hours to rise, but I don't think it would mind at all if I gave it ten.  
  • When it's ready, punch down and form into loave(s), slice the top (or you can do this just before placing in the oven) and cover with the towel and leave to rise (took me about 3 hours, but in my experience  anywhere from 2 to 5 hours would be fine, longer for a lighter bread).
  • For the medium size loaf, bake at 400 degrees F. for about 45 min.  Make certain the oven is preheated before you place the bread in it.
  • You know the bread is done if it sounds hollow when you knock the bottom.
  • Cool on a wire rack as this bread seems to sweat more than regular bread.  Please, if you have any love for me at all, you will not put in plastic until completely cool.  If you need to pack them before they have a chance to cool completely, please either wrap in cotton/linen cloth or if worse comes to worse, a paper bag.


You know, I wonder why more bakeries don't team up with some of the micro breweries in town.  This bread is unlike anything else I've ever had, I've just baked 10 more loaves and had to fight The Capitan for one to take to pot luck.

Allergy wise, you need to be aware of gluten, honey and yeast allergies.  Apparently (and I've seen no scientific evidence to support this - yet - however my gut agrees) both the sprouting and pre-fermenting of the grain make the fibre easier to digest, so people on a low fibre diet might be able to eat this.  Which is total bonus because low fibre diets usually lack in whole grain goodness.

A note about the word Barm:  I've noticed that there are several uses of the word Barm in the Middle Ages.  It can mean anything from the froth at the top, to the left over mash, to the leas at the bottom.  In this article, I'm using what appears to be the more common meaning from Medieval source documents which is roughly 'the remaining yeast from fermenting drink'.


Tuesday, December 11, 2012

My adventures with Bouza, or brewing homemade wheat beer

In the book Wild Fermentation: The Flavor, Nutrition, and Craft of Live-Culture Foods, there is a recipe for Bouza, or Ancient Egyptian Beer.  It looked like good fun so I decided to have a try brewing it.

The 'beer' itself ended up terrible.  I finished with a dozen bottles of strange vinegar; however, the bread I made with the mash is AMAZING!  I'll post about the bread next chance I get.  It's well worth making the 'beer' just to have mash for bread later.

Please note, apparently it's not legal to make your own beer in some parts of world, including a good chunk of North America.  It's your responsibility to be aware of local restrictions before you try this at home, or at least before you start bragging about it.  Most of Canada is fine though.  We may not have the god-given right to bear arms, but we do have the god-given right to make our own home-brew.  

Out of the entire book, this is the one recipe that I've had the most trouble with.  Anyone around know more about the process of brewing this beverage, please get in touch.


According to Sandor Katz, people in Egypt have been brewing this form of beer for at least 5 thousand years.  Given that beer was one of the main sources of nutrition for the masses over the years, that basically means the pyramids were built on this stuff.  Wow.


I'm going to describe to you what I did, and some of the problem solving I attempted.  I'm not going to give you the actual recipe because that would not be fair to the books' author.  However, the book is available at most libraries and its well worth buying your own copy.

The recipe has three main steps: Malting, Forming Loaves, and Brewing Bouza.

Malting is way easier than I ever suspected.  It involves sprouting then toasting the grain.

wheat in jars waiting to sprout

sprouted wheat ready for toasting

The recipe says to toast on the ovens lowest setting for 20 to 30 min until the grain is dry.  This is no where near long enough,  2 to 3 hours will do the trick.

When the grain is dry, it can be stored in an airtight container for later use.  The smell of the sprouted and roasted (aka, malted) grain when it is ground, is heavenly.  I've taken to sprouting half a cup of wheat whenever I have a chance, and maybe I can coarsely grind it and add it to rice or bread later on.


The next step is to make a loaf with coarsely ground wheat.  Combine some sourdough starter (I used sponge as it's generally moister) and coarsely ground grain. You then leave this loaf to ferment for a few days before half-baking it so that the outside is cooked and the inside is still gooey.

ground wheat and soudough sponge

the loaf ready to be put somewhere to ferment before baking


This is the step I had the most trouble with.  To start with, I wasn't able to get the loaf to stick together, so I ended up kneaded in about two tablespoons of all purpose flour.  I put it on a piece of parchemt paper and covered with a cotton towel to ferment.

 After two days, I went to put the loaf in the oven, I noticed there was the start of mould on the bottom.


I probably should have done something about this, but I hoped that either the heat from baking or the alcohol from brewing would take care of this.  This might be why I ended up with vinegar.

When it comes to baking the loaf the recipe tells us that the finished result is to have the outside baked and the inside gooy and alive.  That way it will keep until you are able to brew the Bouza.  Problem is, the temperature given is far too low to heat up the outside of the bread.  At 350, to bake the outside of the bread enough, you will have to bake the inside of the bread too.  Instead, I think it's better to bake at 400 to 425F for about 10 to 15 min.  The outside is cooked, but the inside is all gooey and still quite cool.


Brewing day finally arrived and I ground up the malted wheat, broke up the loaf and added them both into the water.

Malted wheat as it came out of the mill

In the vat you go malt

yeast loaf with gooey interior broken up ready for brewing

Into the Bouza with you too

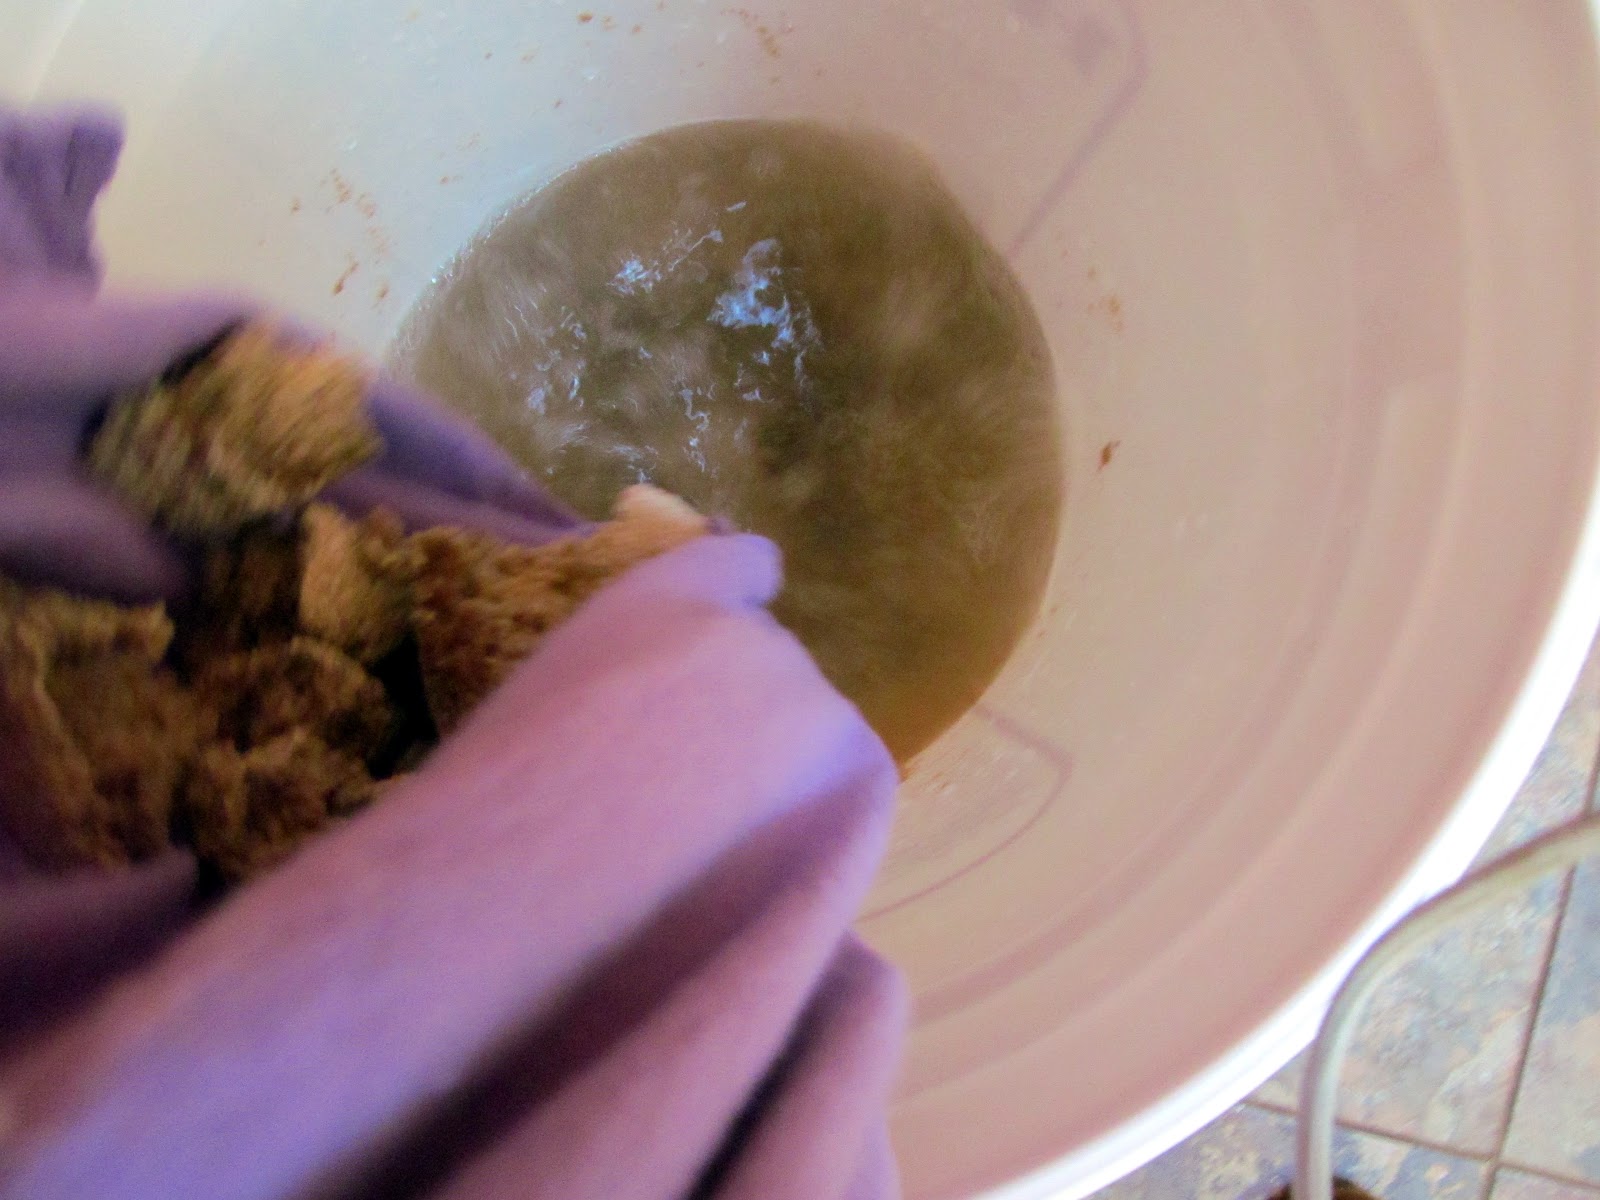
I sealed up the top of the bucket and waited a couple of days.  After the recommended time, it had only just started to ferment (I keep my house cool so it's understandable), so I left it a couple of more days (and made the mistake of stirring it again, which added air to the mix and might be another cause of my vinegar).  When the bubbles started to slow down, I strained it into a pot (kept the mash for bread) and left it to settle.  I strained it again through a cloth and kept the second straining.  This second straining is traditionally considered a major source of yeast and use to be a necessity in bread baking.

An early sample, after two days brewing

Tastes like yeast and water at this stage


The drink itself turned out pretty dismal.  Most of the recipes I've tried from Wild Fermentation I had no problem with; however, this Bouza was nothing but trouble.  But I'm going to try it again later and I have a few ideas that might make it more to my liking.  And even if it doesn't work, I'll have more mash for baking bread.


Bread, yummy!


Beer mash, water, flour and salt - that's it. Apparently it's the best bread ever, but I haven't had any yet because it got eaten so quickly.