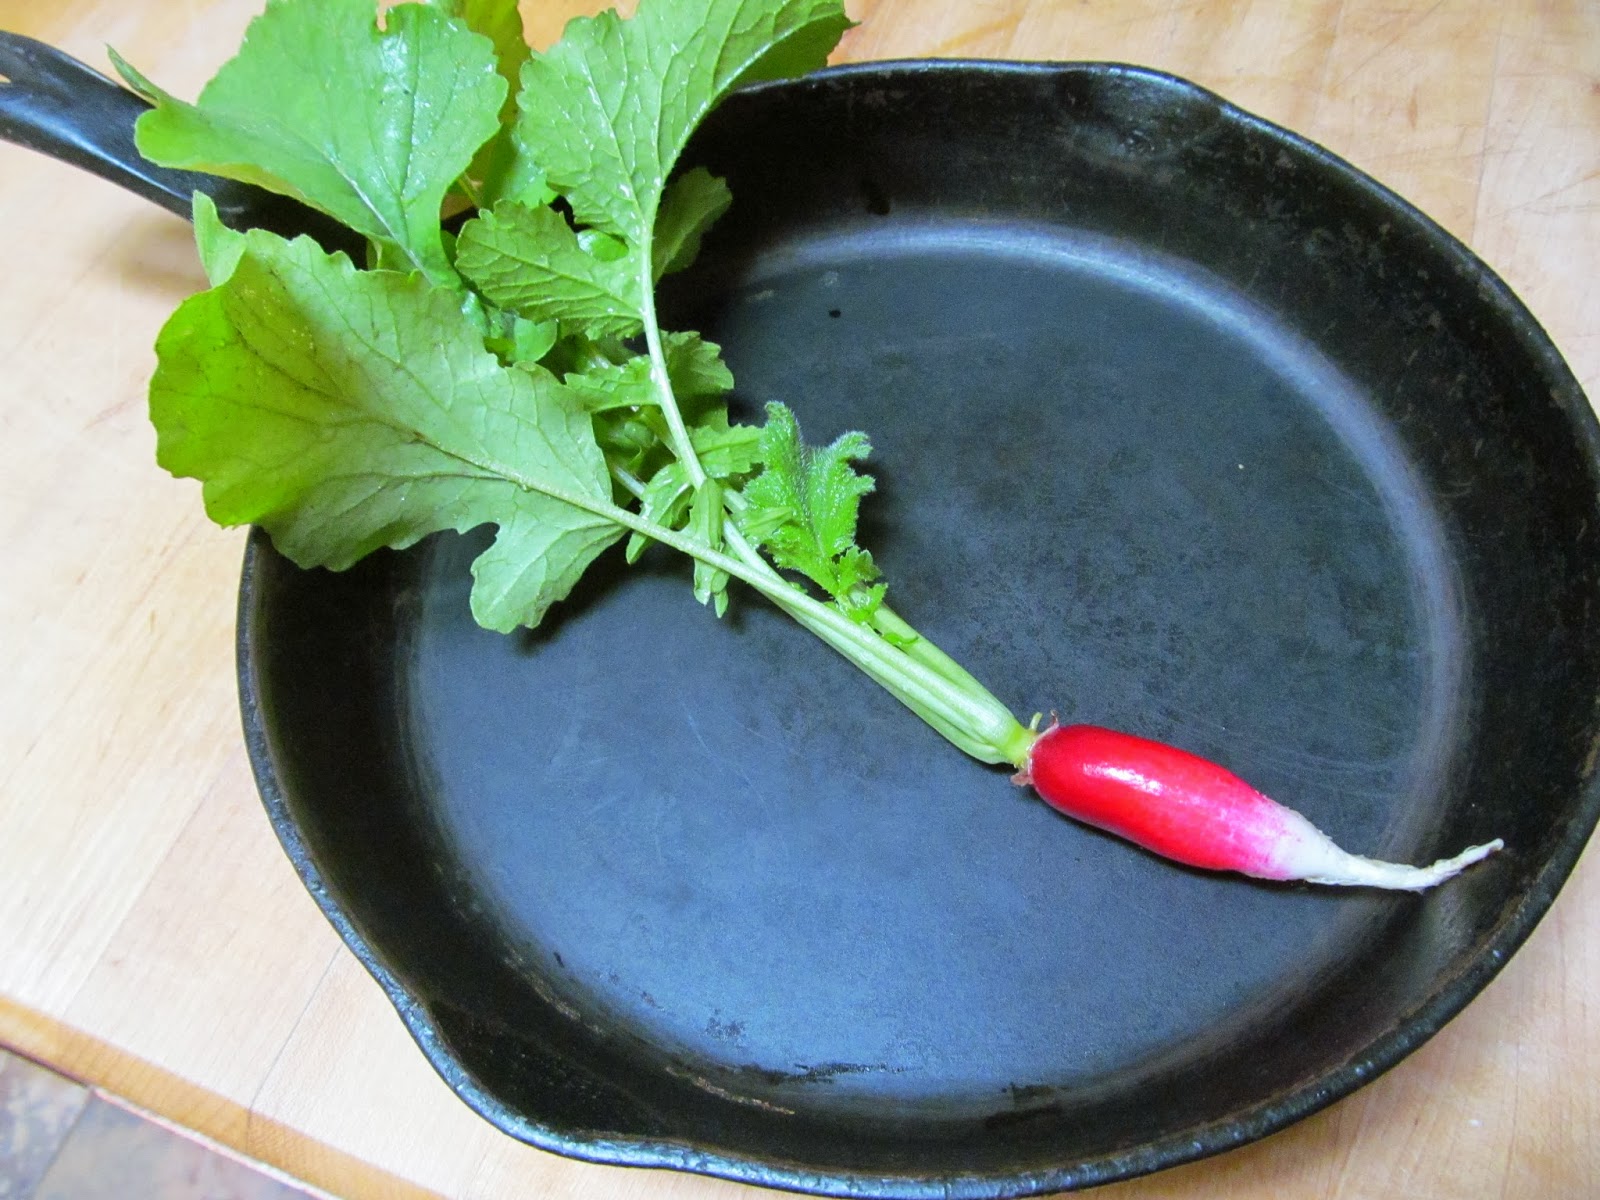
I found this nifty looking packet in a Korean grocery store the other day, and I just knew I needed to find out what it was for and cook it.
Okay, maybe it looks a bit messy here, but trust me on this one, it was delicious. The dish is something like a cross between pottage and chicken soup. The soup itself is quite mild, with garlic, dates and chestnuts providing splashes of texture and taste sensations. The kimchi (home made by the way) is necessary in my opinion.
In the packet is roughly 1 cup of sweet rice, one chunk of dry ginseng, 5 dates and 5 chestnuts.
Traditionally it is washed and mixed together and stuffed into gamecocks, put in a pot with water and cooked on the stove till done, adding more water as needed.
First I washed the package ingredients and put them to soak while I dealt with the chicken.
I didn't have a single serving chicken, so I used a regular size fryer. I used the neck, wings, legs and breasts, in nice big chunks, bone in (the carcass became stock later on), put the pottage ingredients in the bottom of the pan with half a dozen cloves of garlic (peeled), lay the chicken bits on top, then added water to cover everything. I brought to boil and then simmered on very low till it was done (stirring frequently). Took about an hour and twenty minutes, but would make a nice slow cooker meal I think.
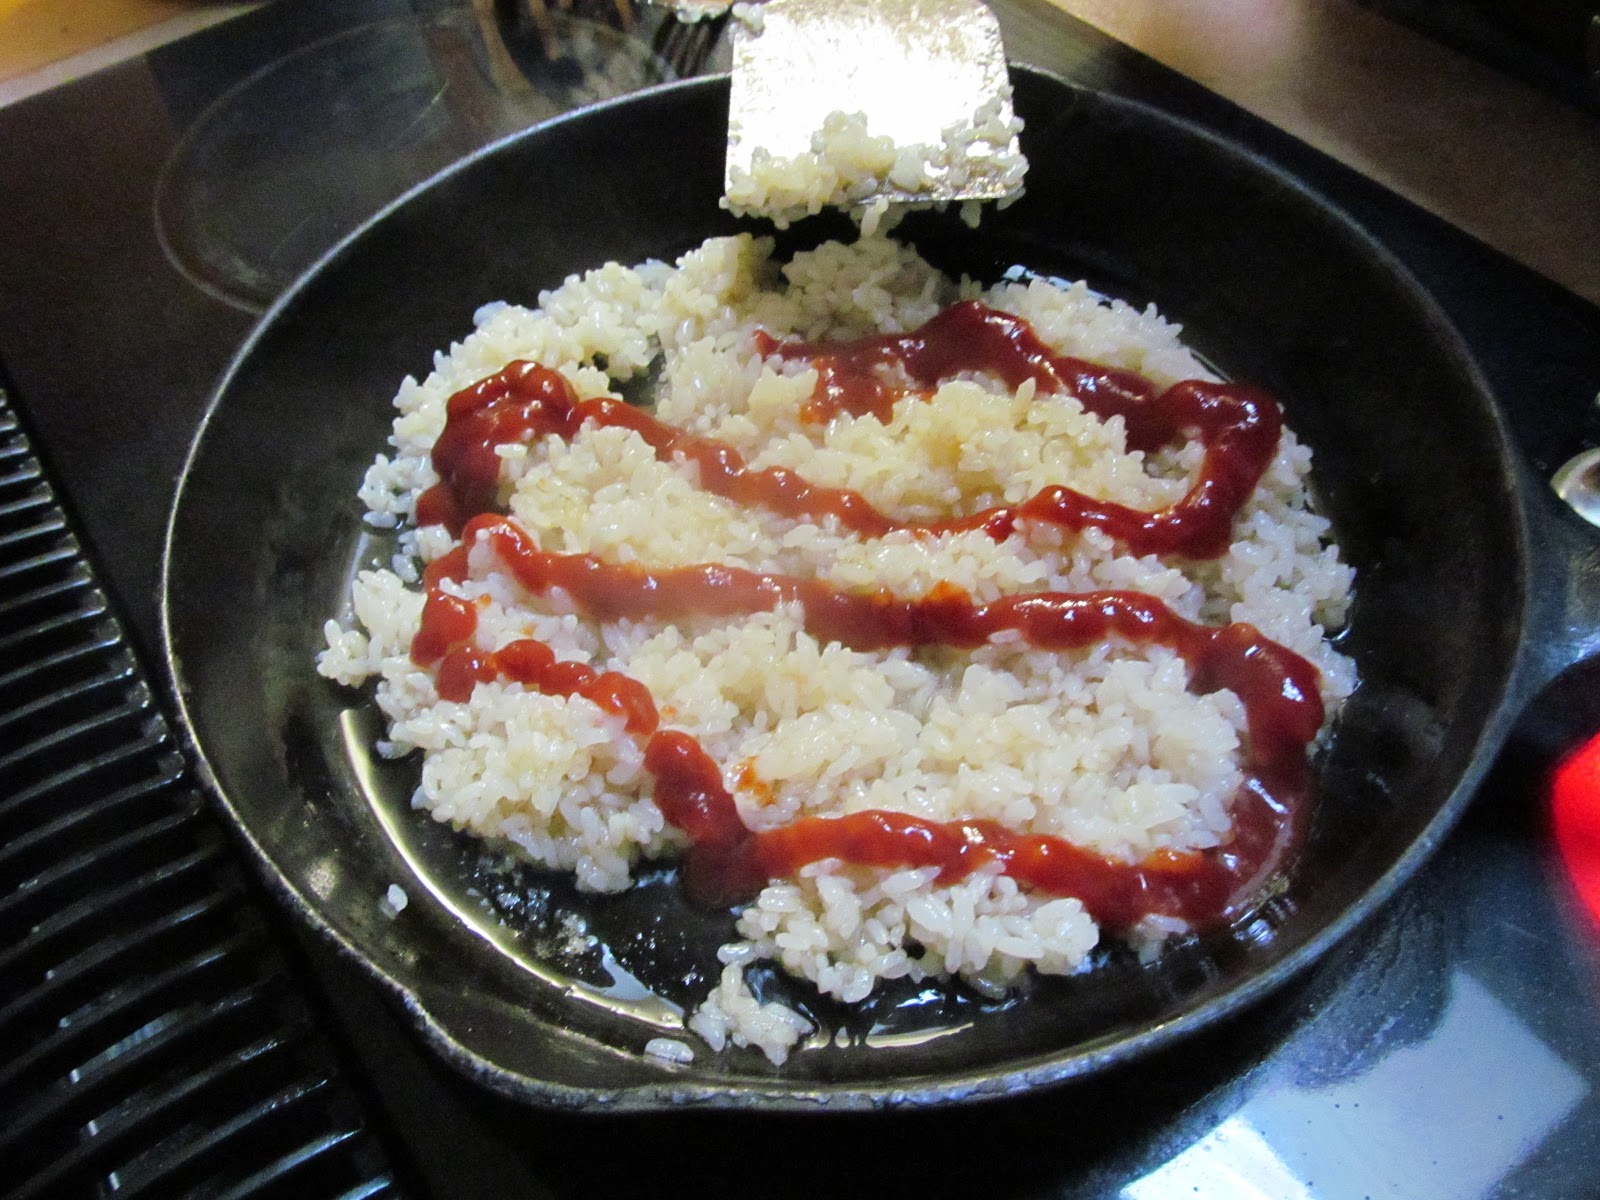
You can serve the chicken with the bone in, but I don't like to think too much while I'm eating, so I removed the chicken, skinned it (I left some of the skin on for flavour while cooking), shredded it with a fork, then placed it on top of the soup.
Tastes good, reheated the second day too.
Apparently this is a traditional summer meal in Korea and is good for keeping one cool during a heatwave.
Allergies: the ingredients were simple enough, no extra stuff like soy in this package. Should be fine for most diets.
Affordable?: Chicken is going up in price here the last five years or so, and the quality is going down. The affordable chicken in the supermarket is repulsive to me, too fatty, too chemically, too much added water injected into the meat after it's been processed... I use to eat two or three chicken a week, but now I maybe eat one or two a month, because the poultry I like, is a bit expensive.
To save money, instead of just buying chicken pieces,
I bought a whole chicken and cut it up. The link I just gave you is from the handsome boys at Sorted Foods. It's the video that gave me the confidence to actually cut up a chicken. I must have watched it at least 10 times before trying it on my own.
Note - did you know that when you cut up a cooked chicken, you don't carve it, you spoil (not unlace like I first wrote, that's what you do to rabbit) the chicken - English has so many beautiful and specific words that are dieing out, it makes me sad.
Locally a whole chicken costs a little under what two breasts cost in the store. But with a whole chicken, I get the wings, the neck, the drumsticks, the thighs, the carcass and the breasts... With the price of poultry on the rise, I can no longer justify buying just chicken pieces.
After all that long rant, is it an affordable dish to cook? $15 for a chicken, another four for the filling, another dollar for the kimchi as it was homemade, makes it $20 for the whole dish. It made 8 bowls full of yummy, yummy soup that's not bad. Roughly 2.50 per plate, but keep in mind, it is yummy and most people will want seconds and thirds.