Showing posts with label Wildcraft. Show all posts

Friday, June 13, 2014

Sourdough Nettle Rye Bread recipe - or let's get Medieval on Your Nettles

Yesterday I made an adaptation of an adaptation of a medieval recipe for Nettle Bread.  It's exceedingly delicious, with a sweet and moist rye bread crumb.  I like it sliced thin, lightly toasted and smothered in butter (homemade is best) and a few drops of honey on top.

Rustic nettle bread


We have the perfect growing place for stinging nettles, it's moist year round, it's acidic, it's downhill from the neighbour's manure pile so the soil is overloaded with nutrients.  There is not much else that will grow there, but the nettles thrive.  So I harvested a large basket full of just the leaves.  My nettles are getting a bit old and scraggly, but if you have young nettles, you can use the stem as well.

Although I made a huge batch of nettle bread this time, I'm going to scale down the recipe for you.  Those of you without constant access to nettles might have to wait till they are available in the shops in the spring... Far too expensive for something available free in the wild, but when that's all you have... well, you make do.  The bunches sold in the store are about a cup worth - but you can use more or less depending on what you have on hand.

blanching nettles
(in the water I used for brewing small ale later that day.
This should be interesting)


The recipe I used for inspiration comes from the beautiful book The Medieval Kitchen, a social history with recipes by Hannele Klemettila (the final 'a' in the name has those two little dots on top).  The author uses modern yeast and caraway seeds.  I hate caraway seeds, possibly more than I hate mushrooms.  They disgust me.

Last year I used Klemettila's recipe and it's quite nice (without the caraway seeds).  It's written in a way that assumes you are very comfortable baking bread and the recipe uses modern ingredients and methods that were not available in the middle ages.  Like most of the book, it is more an attempt to introduce the modern pallet to some of the medieval flavour combinations.  Combine that with the layout and gorgeous pictures, I think it's a good introduction to medieval food.

For me, it's not enough.  In the middle ages a person couldn't just drive down to the supermarket and pick up a packet of yeast.  They had to capture their own yeast, very much like we do with sourdough today.  In fact, in some parts of Europe, it was exactly like we do with sourdough today.  To keep the bread as medieval as possible, I used sourdough instead of modern yeast.

Because the nettles have so many natural sugars, I figured a heavy rye bread would do the trick.  And I was right.

This bread uses a sponge so start it the evening before you plan to bake.  It is also a bit different than many bread recipes in that I only rise it once.  It's a trick you can use for sourdough when you can't guarantee you'll be available to shape the loaves for the second rise.  This creates a more rustic texture, sometimes creating those big air pockets in the loaf.  I kind of like it.

Stinging Nettle Sourdough Rye Bread

About 1 cup of fresh nettles - or a lot more if you have it
1 tsp salt
Sourdough starter
Rye flour
Wheat flour
1/2 tsp Whole fennel seeds
1 tsp honey (optional - makes it no longer vegan)
water

The night before baking day, we make a sponge:

  • Put 2 Tbs sourdough starter (from the fridge or already active is fine), 1/2 cup water, and enough rye flour to make a thin batter.  Cover with a cotton or linen towel and leave on the counter overnight.  This is called the sponge.
  • Feed your starter as per normal - I'm assuming you are already slightly familiar with sourdough.
Now it's baking day, let's get's medieval on your nettles
  • Toast the fennel seeds in a dry fry pan until they smell amazing then put to one side to cool.  While it's toasting, you will want to shake or stir the seeds quite frequently to ensure nothing burns.  When cool enough to handle, coarsely grind it with a mortar and pestle or a spice mill.  
  • Bring a fairly large pot of water to the boil and dunk the nettles in the boiling water for about 3 minutes.  Take the nettles out and put them in a bowl, add about a cup of cold water to the nettles.  When the nettles are cool enough to touch comfortably, take them out of the cold water and strain them - keep the cold water, we're about to use it.  Let's call it nettle rinse water.
  • Combine the nettle rinse water, sponge, 1 tsp salt, toasted fennel seeds, a handful of flour, and a handful of rye flour.  If you are using honey, add it now too.  Mix it up well and put it to one side.  
  • Take the nettles that have drained, chop them up as finely or as coarsely as you like.  The cooking should have neutralized the sting.  Add this to the flour/sponge/fennel/water mix above.  Stir vigorously, almost whisking it in as this will help to activate the gluten in the flour and ensure the nettles are well incorporated into the dough.
  • Add another three or four handfuls of rye flour, or about 1/2 a cup, and mix well.
  • Add regular flour by the handfuls, mixing between each addition, until you have a shaggy mess.
  • Put the shaggy mess onto a well floured board or counter, kneed it until no longer shaggy, but instead a lovely smooth.  
  • Shape into one or two loaves, then put on a baking sheet.  Cover with a towel and leave it alone until double in size.  This may take an hour or it might take 8, depends on your yeast and many other factors... most of which are beyond your control.  A lot of people like to leave it somewhere warm, which is okay, but for me doesn't make as nice a texture or as long keeping loaf.  Just put it somewhere where it isn't in a draft.  
  • When it's double in size, preheat the oven to 400 F.
  • While the oven is heating up, use a very sharp knife to carefully cut some lines in the top of the bread.
  • Bake at 400 for 35 min for the small loaves, or 40 min for one large loaf.  Bread is done when it sounds hollow when you tap it on the bottom.
  • Take out of the oven, wrap the loaves in a cotton or linen towel and leave at least 12 hours to cool before storing in plastic.  Or if you are hungry now, wait at least 10 min before cutting into it.
So beautiful, ready to rise


Affordable: Yes, if you're harvesting your own nettles and not paying grocery store prices.  The nettles add a lot of nutrition and a little bit of bulk to the bread which is pretty awesome.  Nettles are very healthy - just google stinging nettles to find out all the good things they do.

If you omit the honey, this is a vegan friendly bread.

Tradition and transition?  It seems to have been quite common in medieval times, but the tradition has died out.  As a Transition bread, however, this is going to be a good recipe to keep around.  A dense nettle bread is very common during starvation times, like during World War 2 for example.  Usually wheat flour is one of the first things to be rationed, so breads were made with whatever grains were on hand, and often augmented with nettles and other nutritional weeds that are usually ignored in times of plenty.

We would be foolish to think that we won't ever have a starvation time again in The West, but for now, it's actually quite a yummy bread, the nettles adding  a little bit of tang, sweetness, and even help prevent the bread from going moldy.


nettle toast and honey, delicious.


Saturday, June 7, 2014

Harvest and noodles


Lately I've been wondering into the garden and picking random things, then brining them into the house for lunch.  This is what I brought in the  other day.  From left to right, Chickweed, Mangel Wurzel leaves, and a garlic scape.

I'm a bit disappointed in the garlic, usually it goes to see much later in the year, about the same time as the pickling cucumbers are ready.  Last year I made this really delicious fermented pickle from them.  But not this year.  Right now the cucumbers are at an all time high price in the shops, and our home grown cucs are a long way off.


These Mangel Wurzel leaves are actually a kind of animal fodder food.  We are growing them for the first time this year to feed to the sheep and goats over winter.  The leaves we feed in the late summer when the grass is too dry to grow, and the roots we keep for winter feeding.

But to me, the young Mangel Wurzel leaves look and taste like chard, only better.  So I've been munching on them too.


Another one of those one-pot-meals.  Toss everything in, a bit of bacon, some noodles, some carrots, garden veg, then put it on low heat for an hour or five.  Very, very tasty.


Thursday, July 25, 2013

Chickweed salve recipe

Here's a recipe for some Chickweed salve I made recently.


I have a friend who has one of the most amazing skin problems I've ever seen.  Whenever I see his hands I just want to cry it looks so painful.  Apparently it feels far worse than it looks, poor thing.

Over the years he tried almost every skin treatment imaginable, from fancy doctor stuff to holistic herbal whatcha things.  Most of them made the hurt and crack and bleed... but a few things worked for him and he gave me permission to make a salve based on that.

I have a theory that there are two main kind of skin problems - keep in mind, it's just an oversimplified theory based on my observation and questioning people I meet.  One kind of skin problem is caused by the immune system not working well enough, and the other is caused by the immune system working too well.  For people with the former, herbal lotions with calendula, honey, lavender, and other immune supporting elements will help, but for my friend, he needs the exact opposite.  It's like his immune system is attacking his skin in some sort of vengeful fit of rage at the world around it.


Chickweed in the past has helped my friend (let's call him Mr Kitten) so I thought I would start with that.  It has a nice soothing quality that doesn't encourage the immune system to take action.

I gathered up a large handful of fresh chickweed from the garden (it's a weed so I was 'gathering' it anyway), washed it well and chopped it medium fine.  Then I added it to lard and very gently simmered it in the slow cooker for two hours.

Cooking in the slowcooker was a mistake.  The temperature was way too high, so next time I'll cook in a double boiler situation.

When it smelt good and chickweed like, I strained the chickweed, added olive oil and beeswax to make the texture right (depending on where on the animal the fat came from, it may be too runny or too hard for a lotion).  Next time I won't be adding beeswax as I realize now it is one of those immune boosters.  Instead, I'll just use tallow fat which is much stiffer than regular lard.

Put it in jars, letting it cool before putting on the lid.

So far Mr Kitten says it's working well with a bit of a sting at the start.  I might try adding some Dock weed to the next concoction to see if that helps at all.

Tuesday, June 25, 2013

Harvest and making random things

Time time of year my focus is more on outside the house than inside the kitchen.  The garden needs constant attention, the animals and...well everything.  But I still get a bit of time to cook what we harvest.

Calendula and sage for the dehydrator.  The sage is for tea and cooking, whereas I hope to have enough flowers by fall to make a dye bath for some fabric.  


Also in the photo are garlic scapes.  I never brought these into the kitchen before, so I really had no idea what to do with them.


I decided to try (a slightly altered) version of these cucumber pickles.  The ingredients are almost the same, but I used a different method for fermenting them.  Although it's going to be difficult improving on this already fantastic recipe, I plan to spend much of the summer attempting variations.


With a proper cellar I could see this being a great way to preserve cucumbers and other veg.  It was magical as the taste of the cumber went from salty to sour in just a few days.


I've also been harvesting several wild plants (aka weeds, of which we have many this year) for eating and medicinal use.  This is chickweed:


I used it to make a hand salve for a friend with some rather impressive skin troubles.  Chickweed has worked in the past for him, so I'm curious if my standard salve preparation would do the trick as well.

And finally, what would summer be without a pot of Kimchi on the go?

Daikon, carrots and su choi make up the bulk of this batch.  I chopped up some garlic scapes extra fine and tossed them in as well.  Very tasty.  Used the recipe from the book, Wild Fermentation - well more or less.

Thursday, February 28, 2013

Making Hot Smoked semi-candied Salmon at home: First attempt.

Having no recipe to guide me, working only from my own experience and fables of how they make that amazing smoked salmon in the northern part of Vancouver Island (Hardy Boys is one example you may have heard of), I decided to dive in and make smoked salmon.

My smoker, a mister to calm the fire, and home made maple syrup to brush on top


The first job was to cut up the salmon into long strips.


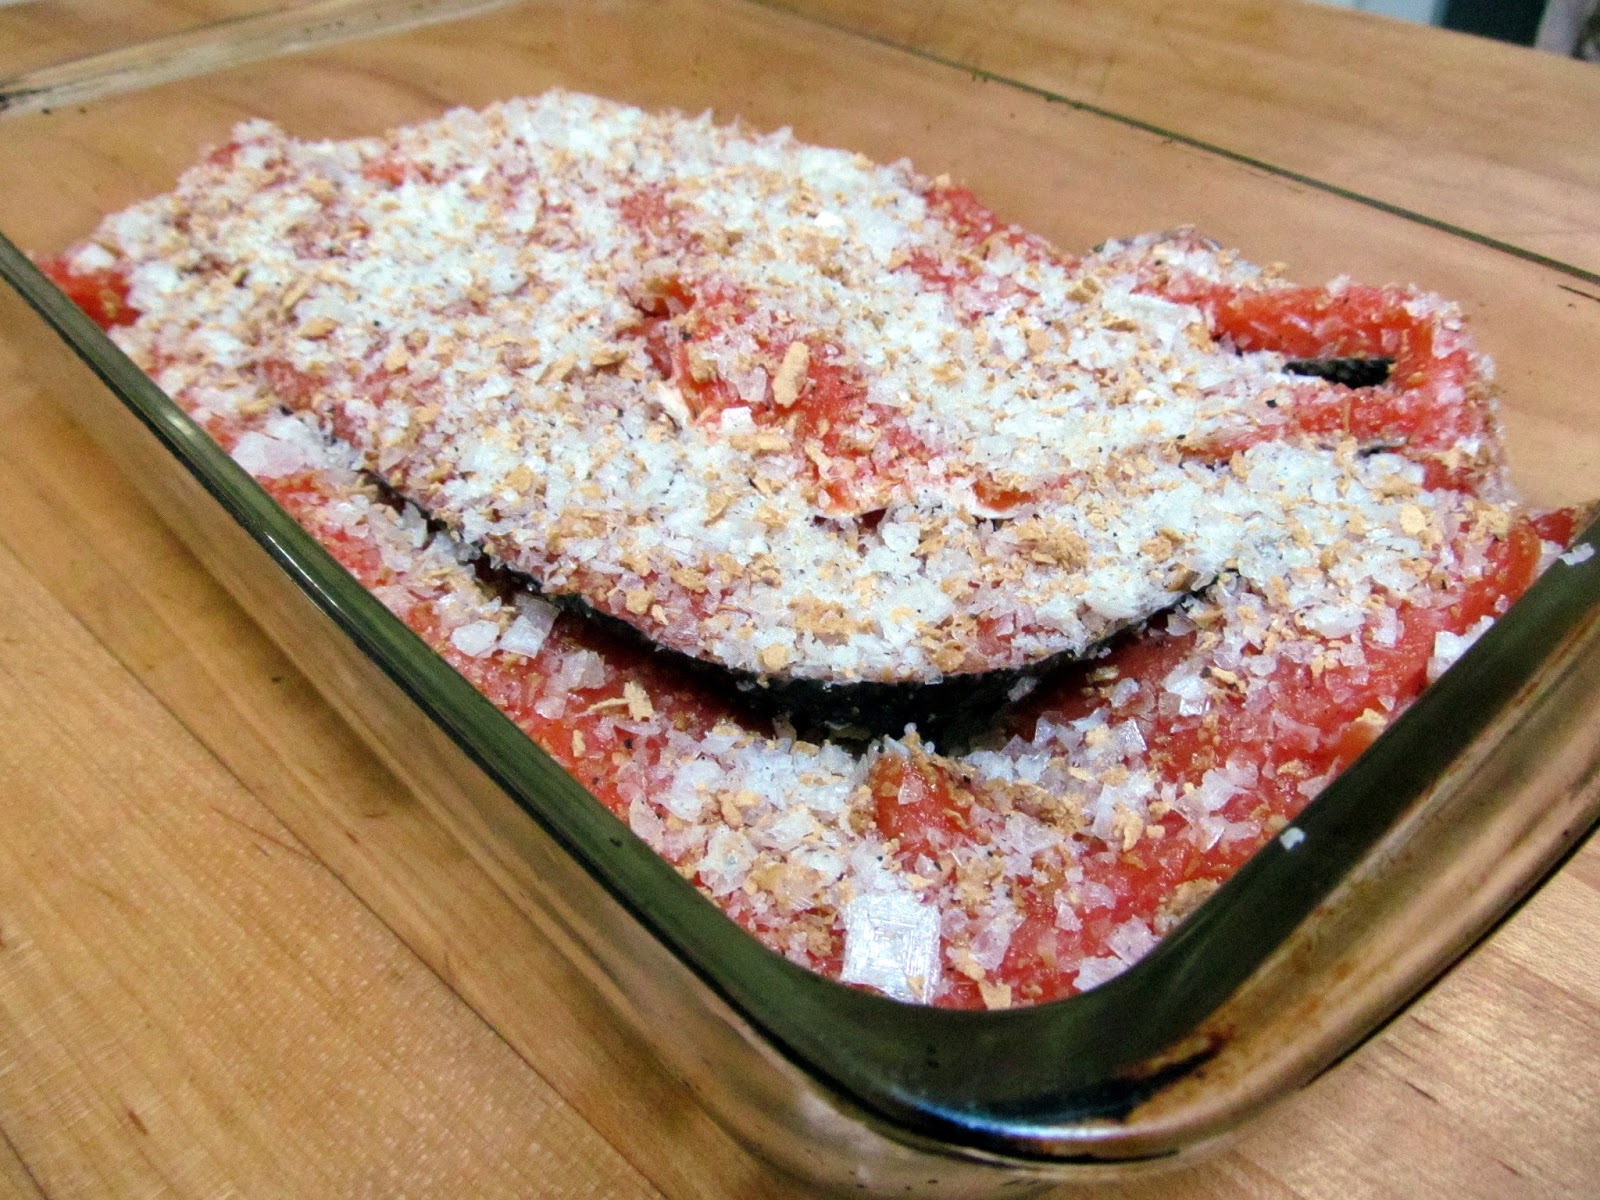
Then I made a mixture of salt, maple sugar, and black pepper.  I dredged each piece of salmon in the mix and cured it for about 20 hours.

Before
after curing
At this stage the salmon feels very firm.  All that moisture came from the fish.

I should have rinsed the salmon at this point, but I forgot.  Because of this, it turned out to be excessively salty.

I dried the salmon using paper towel, and left it on a rack, uncovered, in the fridge for about 2 hours to dry extra well.  From what I have read, this stage is super-important if you want the smoke flavour to stick.


This is a charcoal BBQ/smoker so I started it up about half an hour before I was ready to get smoking.  The fire is in a separate box attached to the side of the grill.  You build up a fire with charcoal and then you put the chips (in a tinfoil bag with holes in it) or blocks of wood on the fire to make some smoke.

The problem I encountered with this is that it got too hot too soon.  The fish actually cooked instead of slowly gathering smoke.  But not a complete loss.  Each time I use this smoker, I learn something new.


In the end, I only smoked it for about 2 hours.  Next time I think I'll smoke it for at least 4, maybe 8 hours.

But it looks good, and if you can get past the over-salty-ness of the whole thing, it actually has a lot of potential.


I wonder if I should add the label 'kitchen failure' to this post or not.  I mean, we ate the fish, and I learned a heck of a lot about smoking salmon.  But to be completely honest with you, it wasn't exactly the best smoked salmon in the world.  In fact, I would be ashamed to serve this to someone, even a friend.

But then again, I tried something new, without a recipe, and had fun making it.  I discovered new information about my smoker that I never realized before.  And about fish, and about curing in general.

Eventually, I'll get it right and post the final recipe here.

Sunday, January 27, 2013

Sugaring on the farm

We live on the west coast of Canada.  It can be very beautiful here, the winters are obscenely green.  This year is nothing special, with only a light dusting of snow one morning, enough to shut down half the city.  If we didn't have the alpacas in the yard, we would have to mow the law every week.

When I hear about the snow storms in the rest of the country, I have have great envy (I love shovelling the driveway) and I often wonder if this little island is really part of the Nation of Canada.  We don't eat French Fry Soup, we have to drive forever if we want to go skiing, and maple syrup?  Well, what's that?


Alrigh, alright, we know what maple syrup is.  It's that very expensive stuff they ship from back east.  Tastes like liquid heaven.  It comes out of a tree like this:


Well, the other day I saw some Vancouver Island maple syrup for sale.  Vancouver Island maple Syrup?  I laugh a little.  Where you going to get the sap?  From Big Leaf Maples?

Yes, exactly, that's exactly where the sap came from.

The syrup from the Big Leaf Maple is more flavourful than regular (number 1) syrup from Back East.  It tastes like it has melted butter in it, and just a hint of lemon.  It's really amazing.

So, why not make my own?  I have a couple of acres of woodlot, and the local shop sells spiles.  So, into the woods I went.

From 4 trees I'm getting about half a gallon to a gallon of sap a day.  I bring it home and boil it down.


I'm using my maslin pan which is narrow at the bottom and wide at the top, specifically designed for boiling down jam.

An then, by the end of the day...


It's more sugary than regular maple syrup, so I might have boiled it down too much.  Oh well.  It's not going to last long.